
Knitstagram is a big thing. I’d been knitting – and Instagramming – for years before I discovered the Instagram knitting world, and tbh I’m slightly miffed that I didn’t dive in sooner. All the inspiration! The wonderful community! Sharing your stitches with other folks who love stitches! I started a crafty Instagram account in early 2019 and have photographed for other brands since then too, and I’d like to think I do a half decent job of shooting knitwear. Photography has been a big part of my life for many years and naturally knitwear is (one of) my favourite subjects. I’ve been asked for tips a couple of times and figured a blog post is the best format to share them; please let me know if you find any of these helpful! I shoot with a mix of my Canon 800D, mostly with a 40mm or 50mm lens, and my Huawei phone. Hopefully these tips are relevant for both camera and phone photography – you absolutely do not need fancy equipment to take pretty photos!
Use natural light.
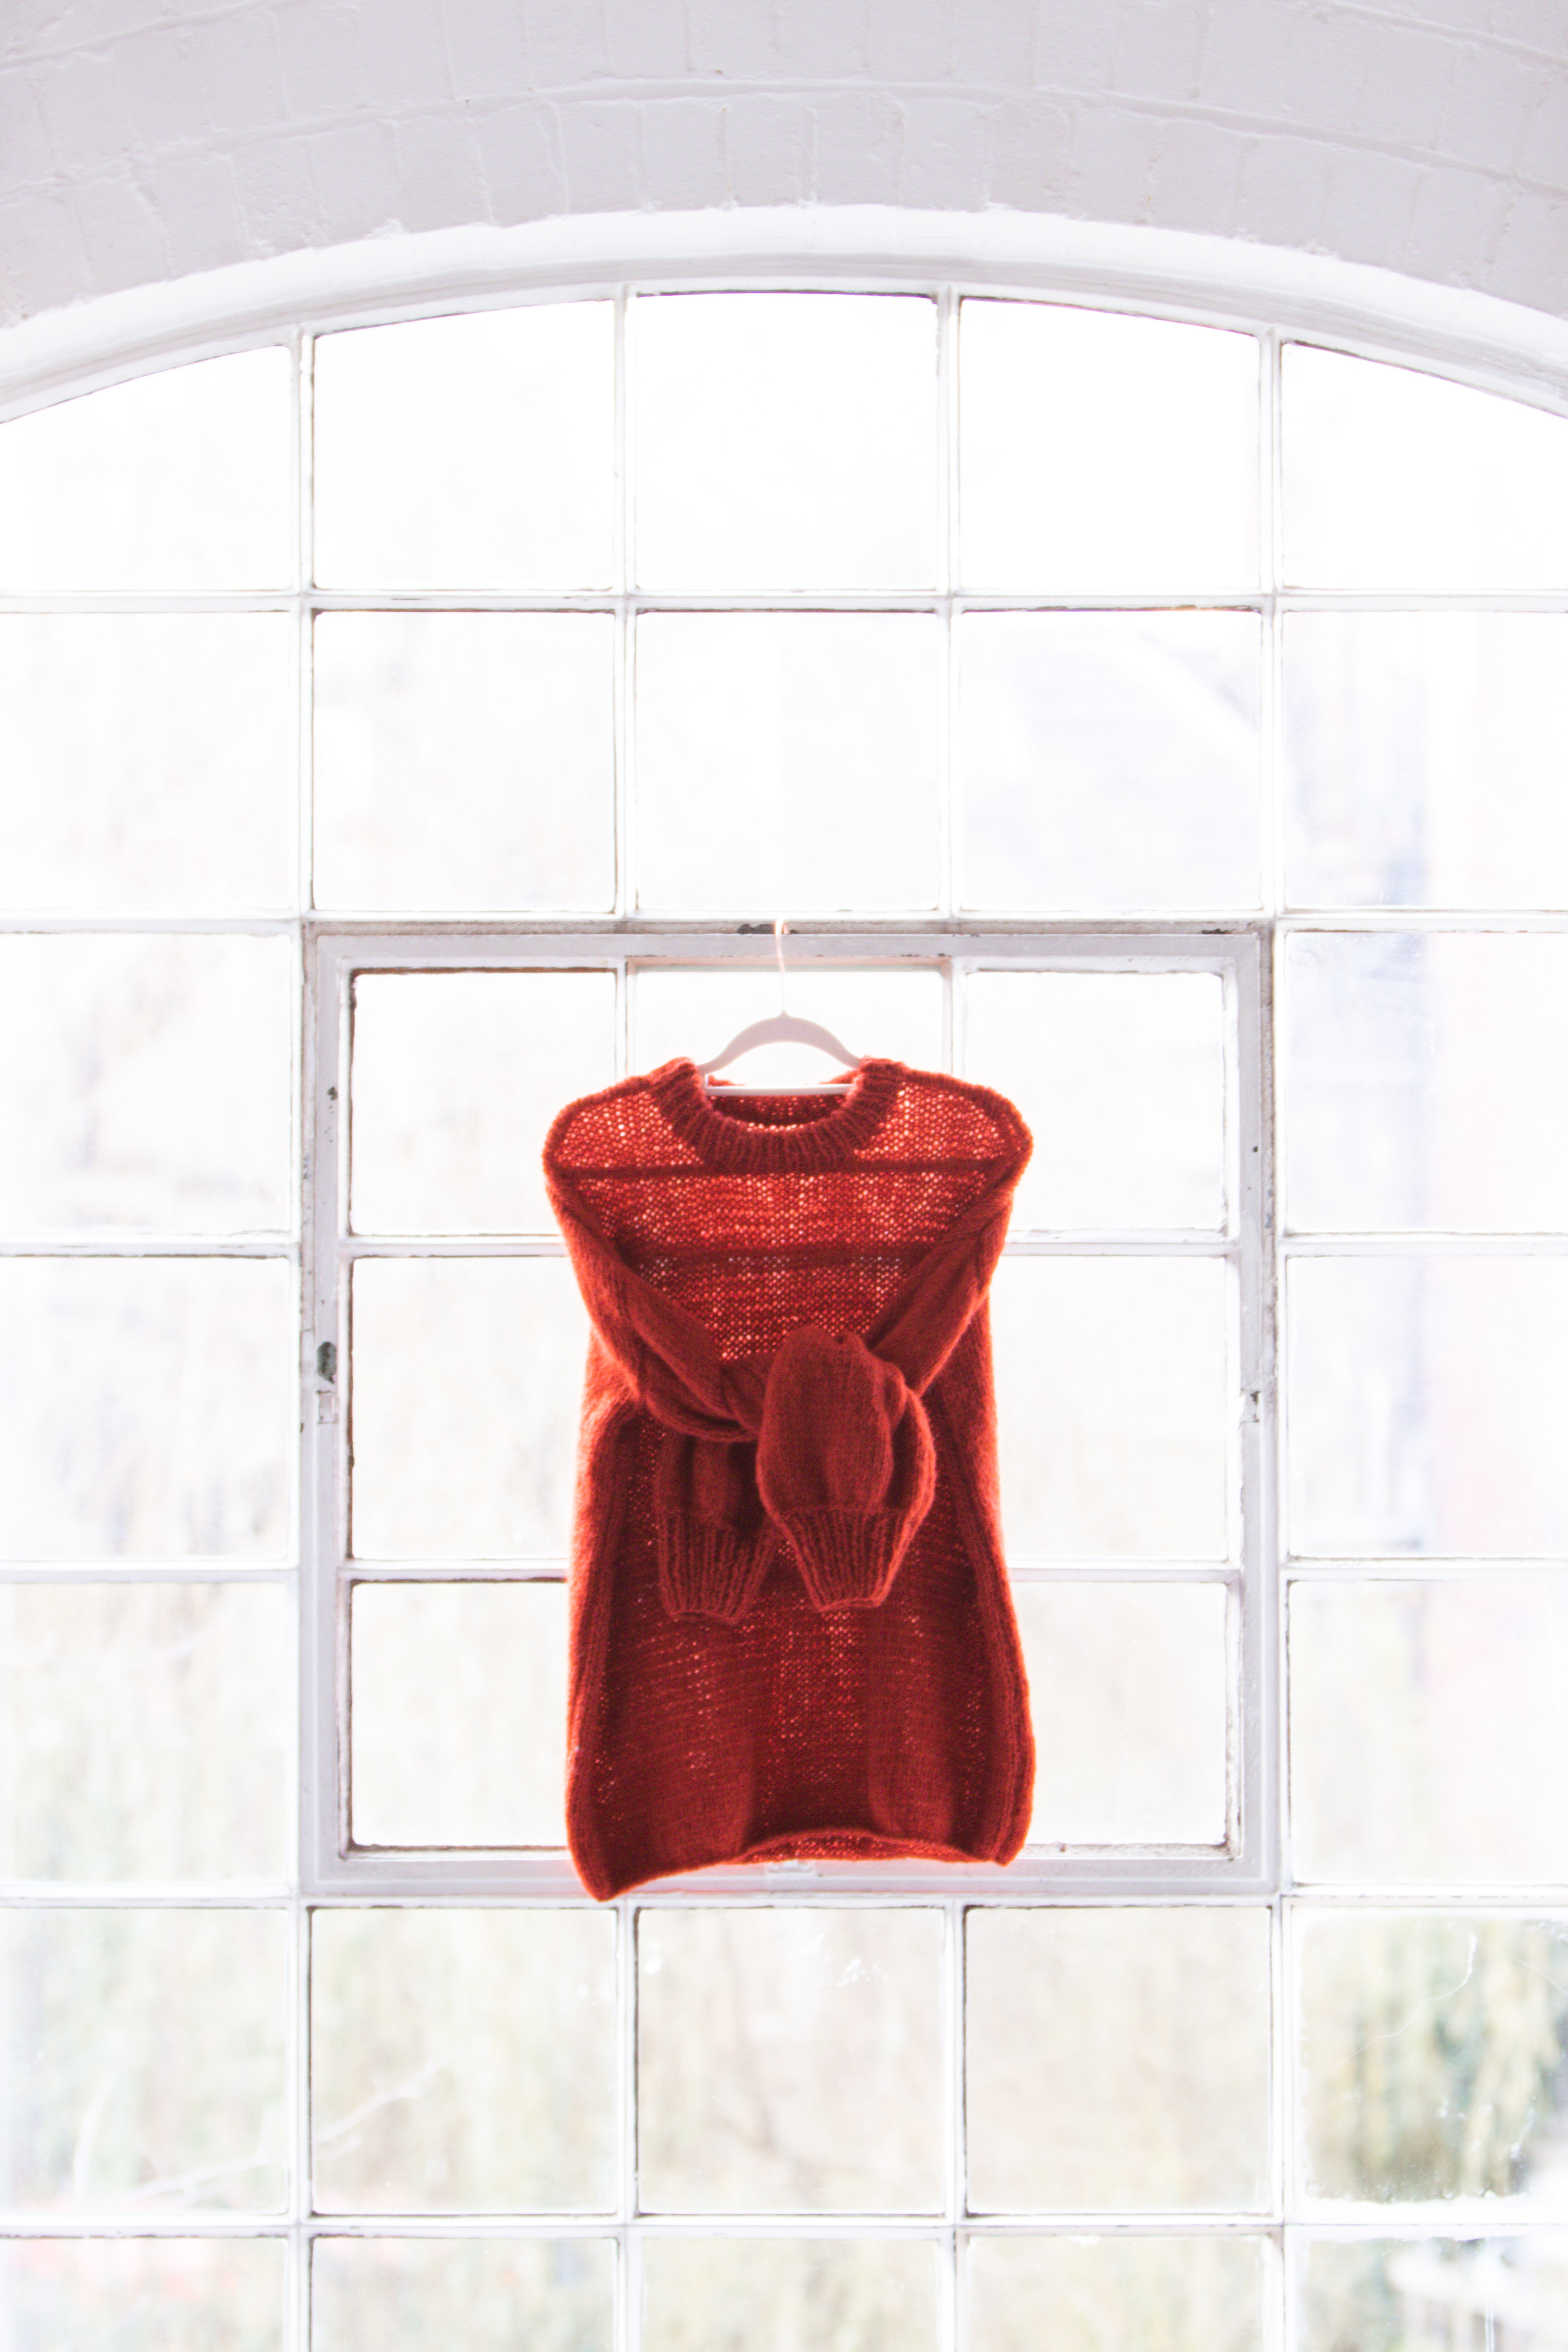
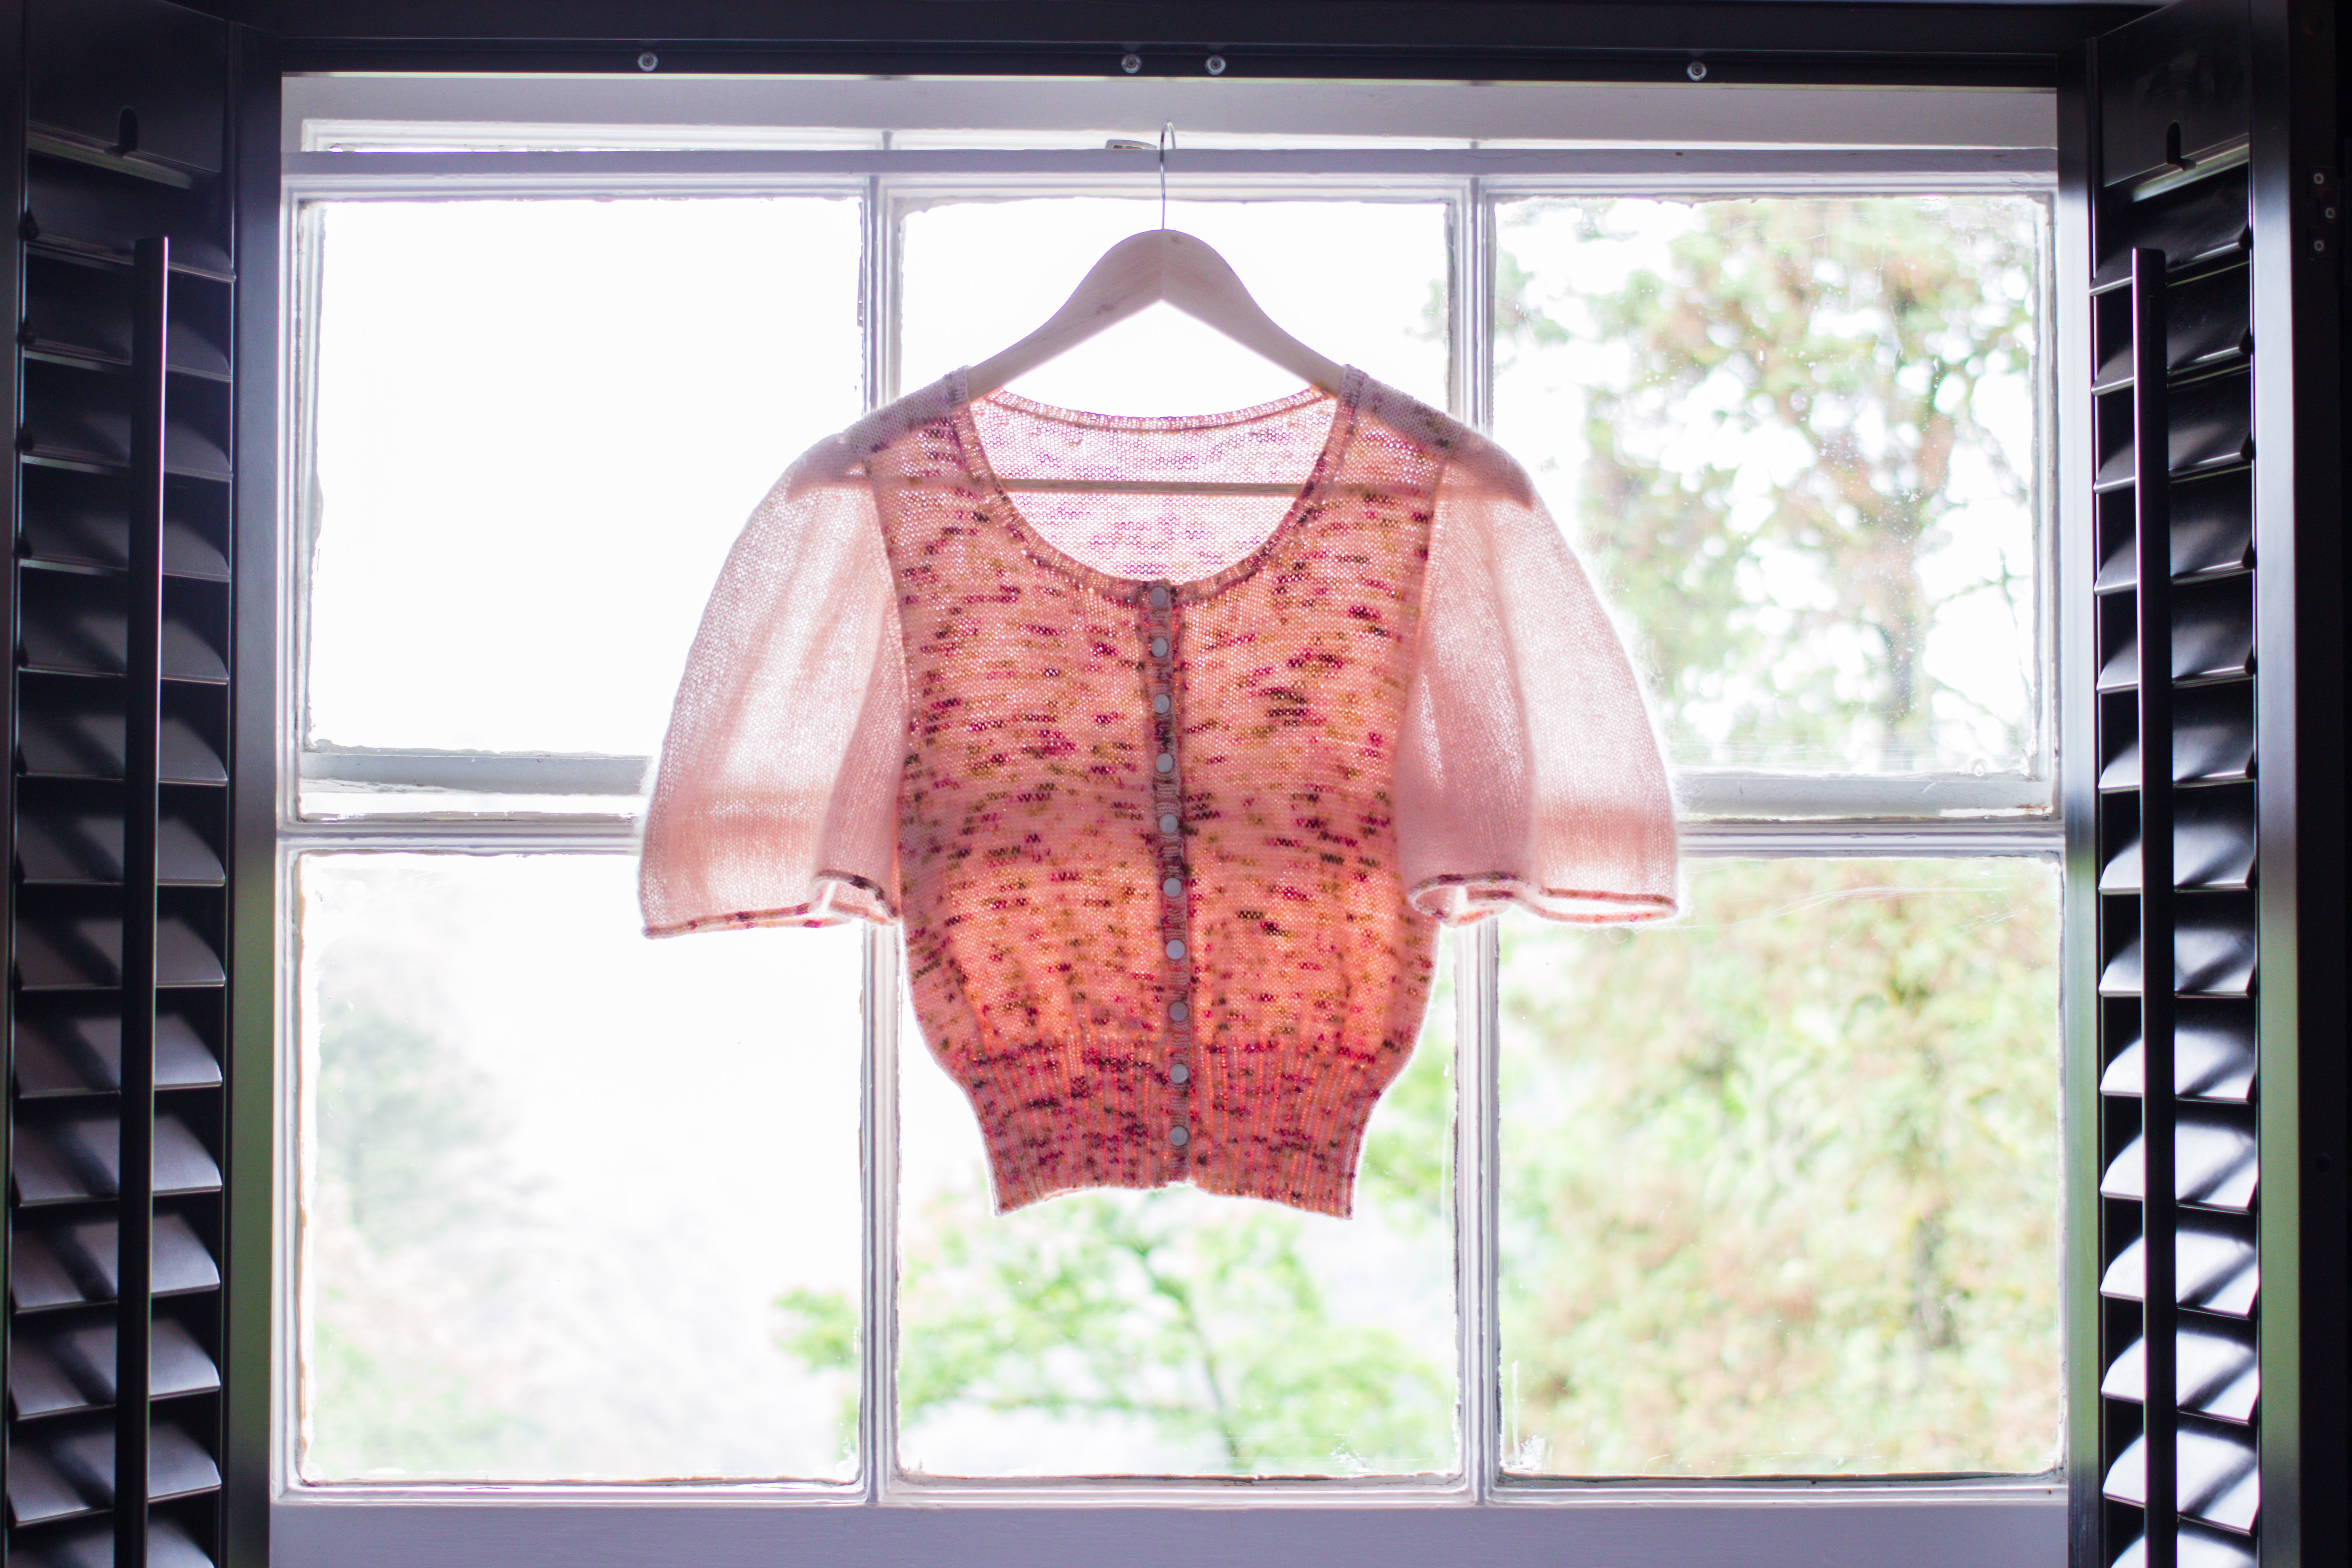
The most useful / important point of all, I’d say. Of the thousands of photos I’ve taken and posted, probably less than 10 have been taken in artificial light. Obviously sometimes it’s unavoidable, especially in Winter when the lack of daylight is the bane of my life, but if at all possible, use natural light. Artificial light produces all kind of horrible colour tints and shadows and just won’t show your work off to its best. That said, bright sunshine isn’t great: it gives harsh shadows, washed out colours, and squinty faces (if you’re photographing knits on a person, that is). Shady spots on a bright day or indoors by a window is perfect. The majority of my photos this year were taken by a window in my mum’s bedroom – the morning light worked perfectly.
Keep it minimal.
I often just hang a single sweater on a coathanger on the edge of my wardrobe and leave it at that – funnily enough my most liked photo ever was a quick phone snap against my wardrobe! It hit the Explore page, and I’m guessing the bold, simple style is what caught users’ attention. My beloved Dolly the Mannequin looks striking against a plain dark wall. Of course it’s great to take photos out and about against more fussy backdrops too – they show your knitting in the context – but personally I think even those photos are best kept minimal if possible. A straight horizon in the background or blurred buildings in the distance. If you’re aiming to show off your handiwork, keep it the main focus.

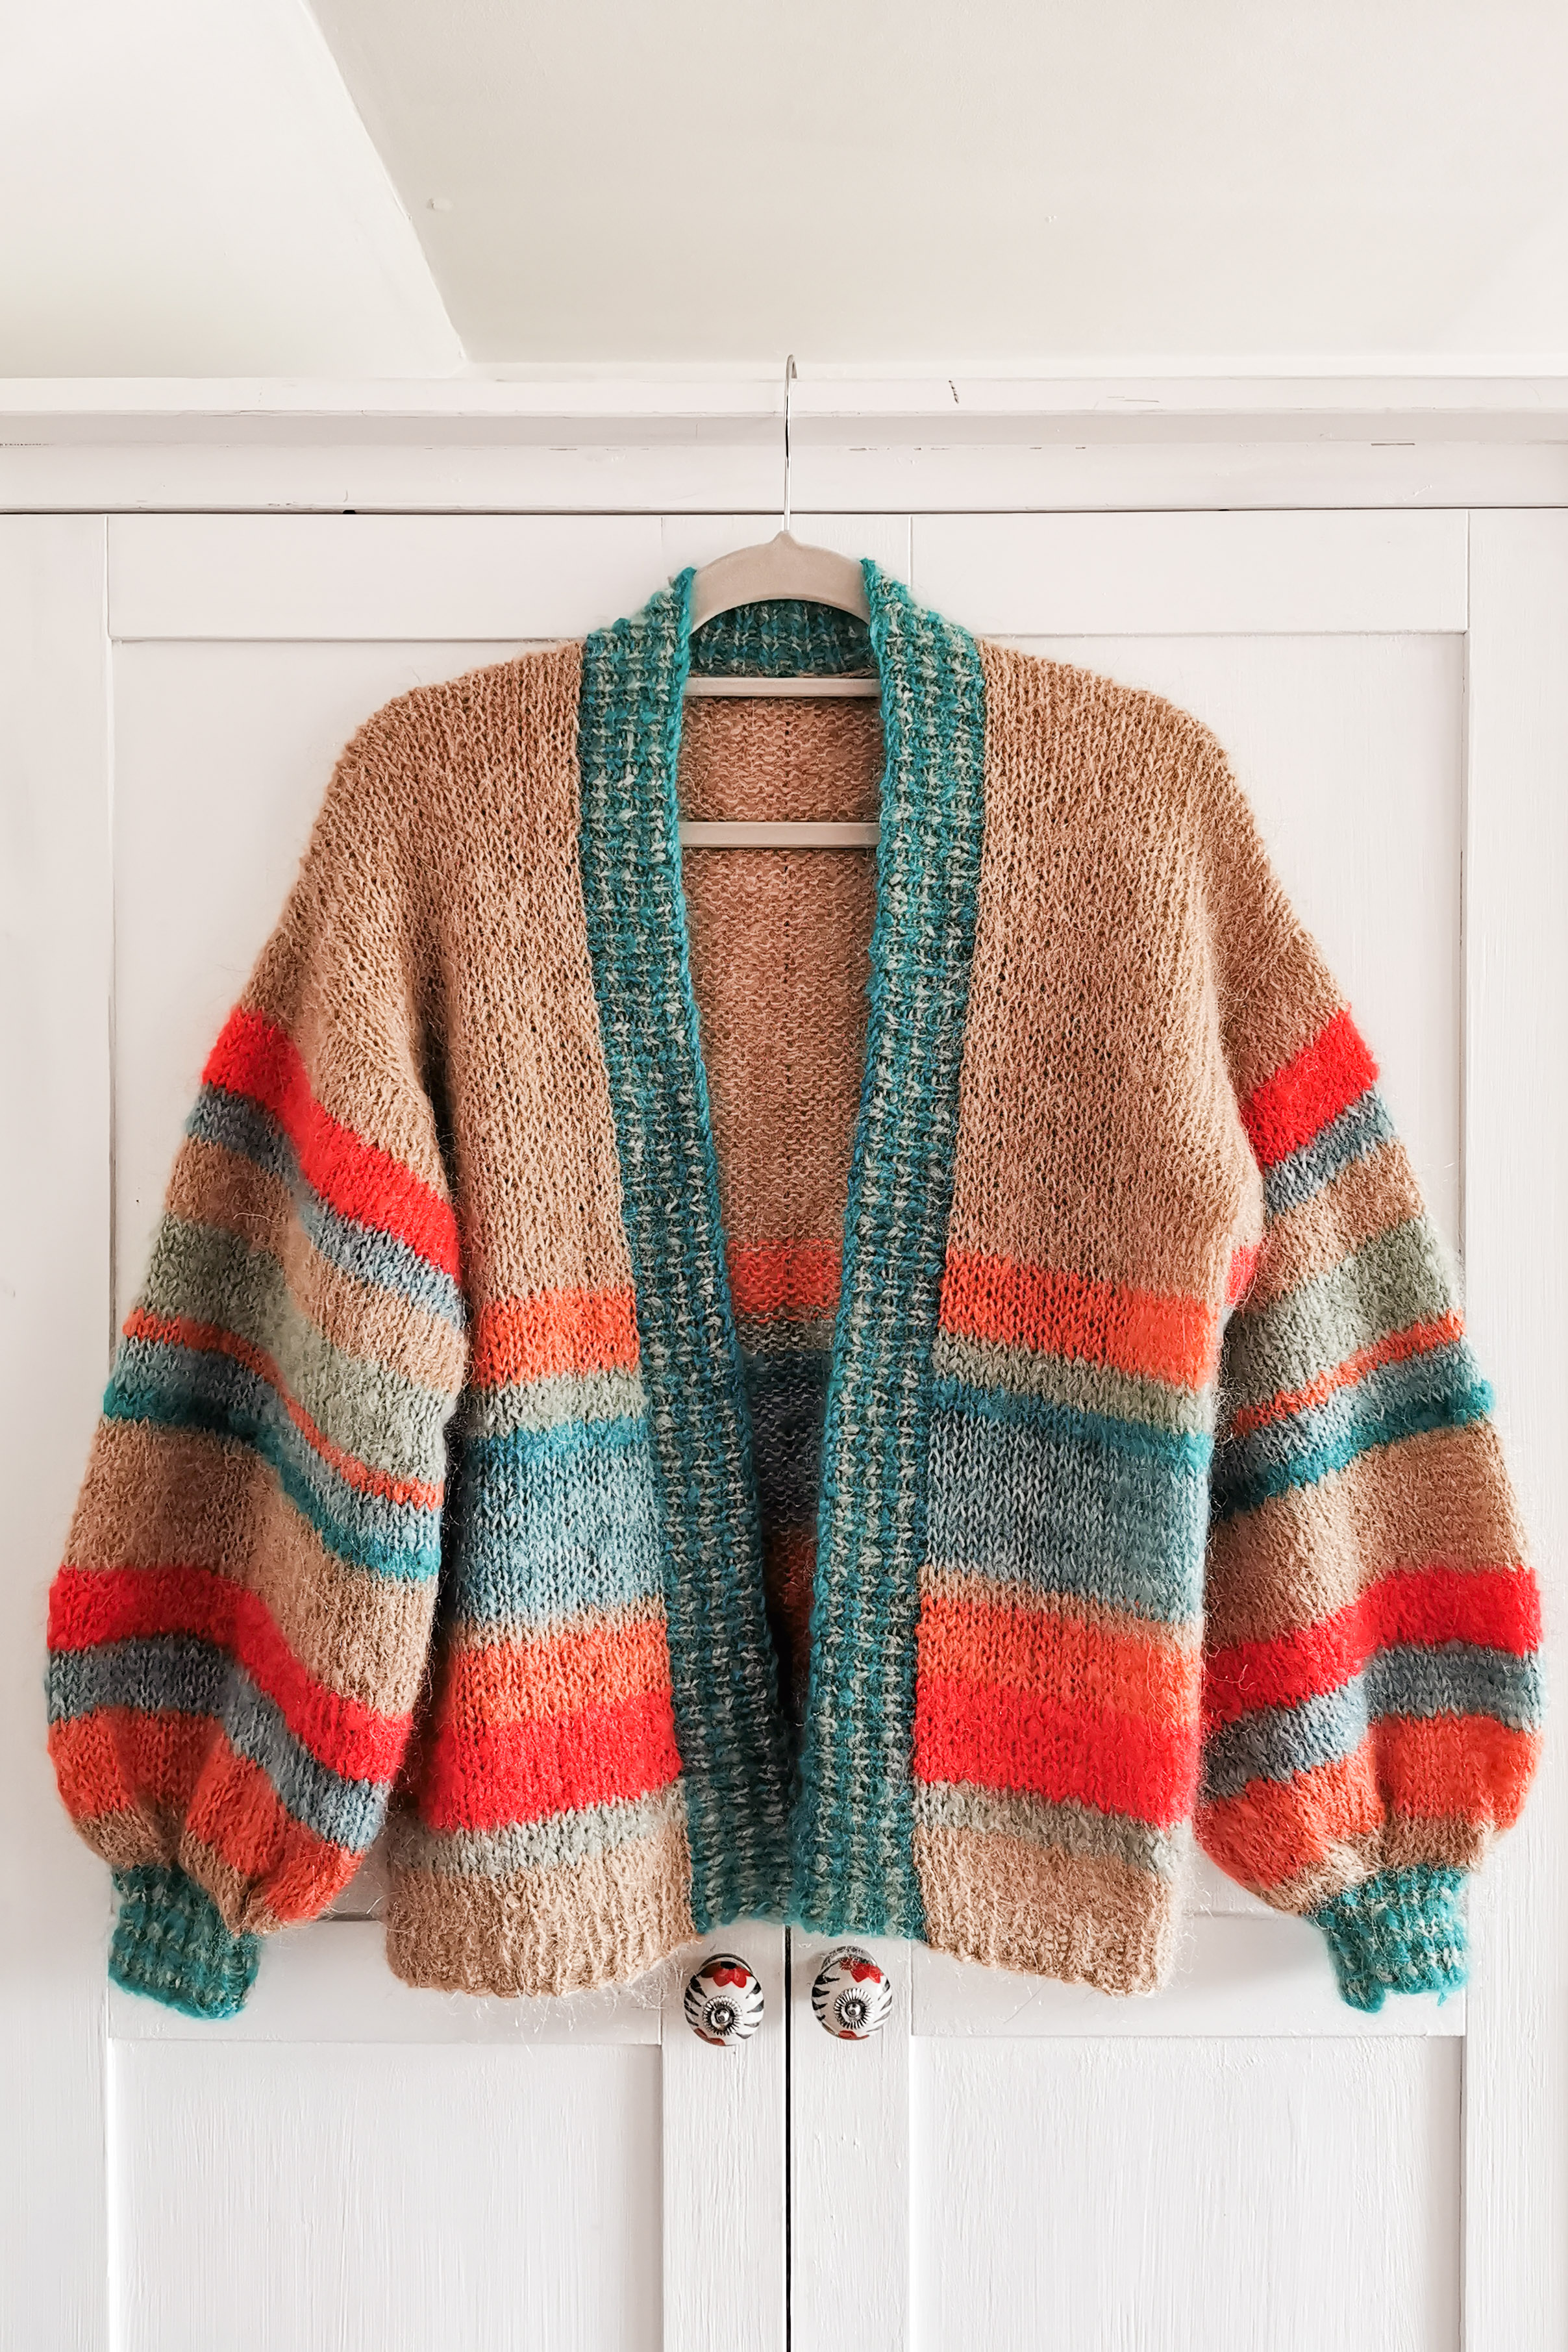

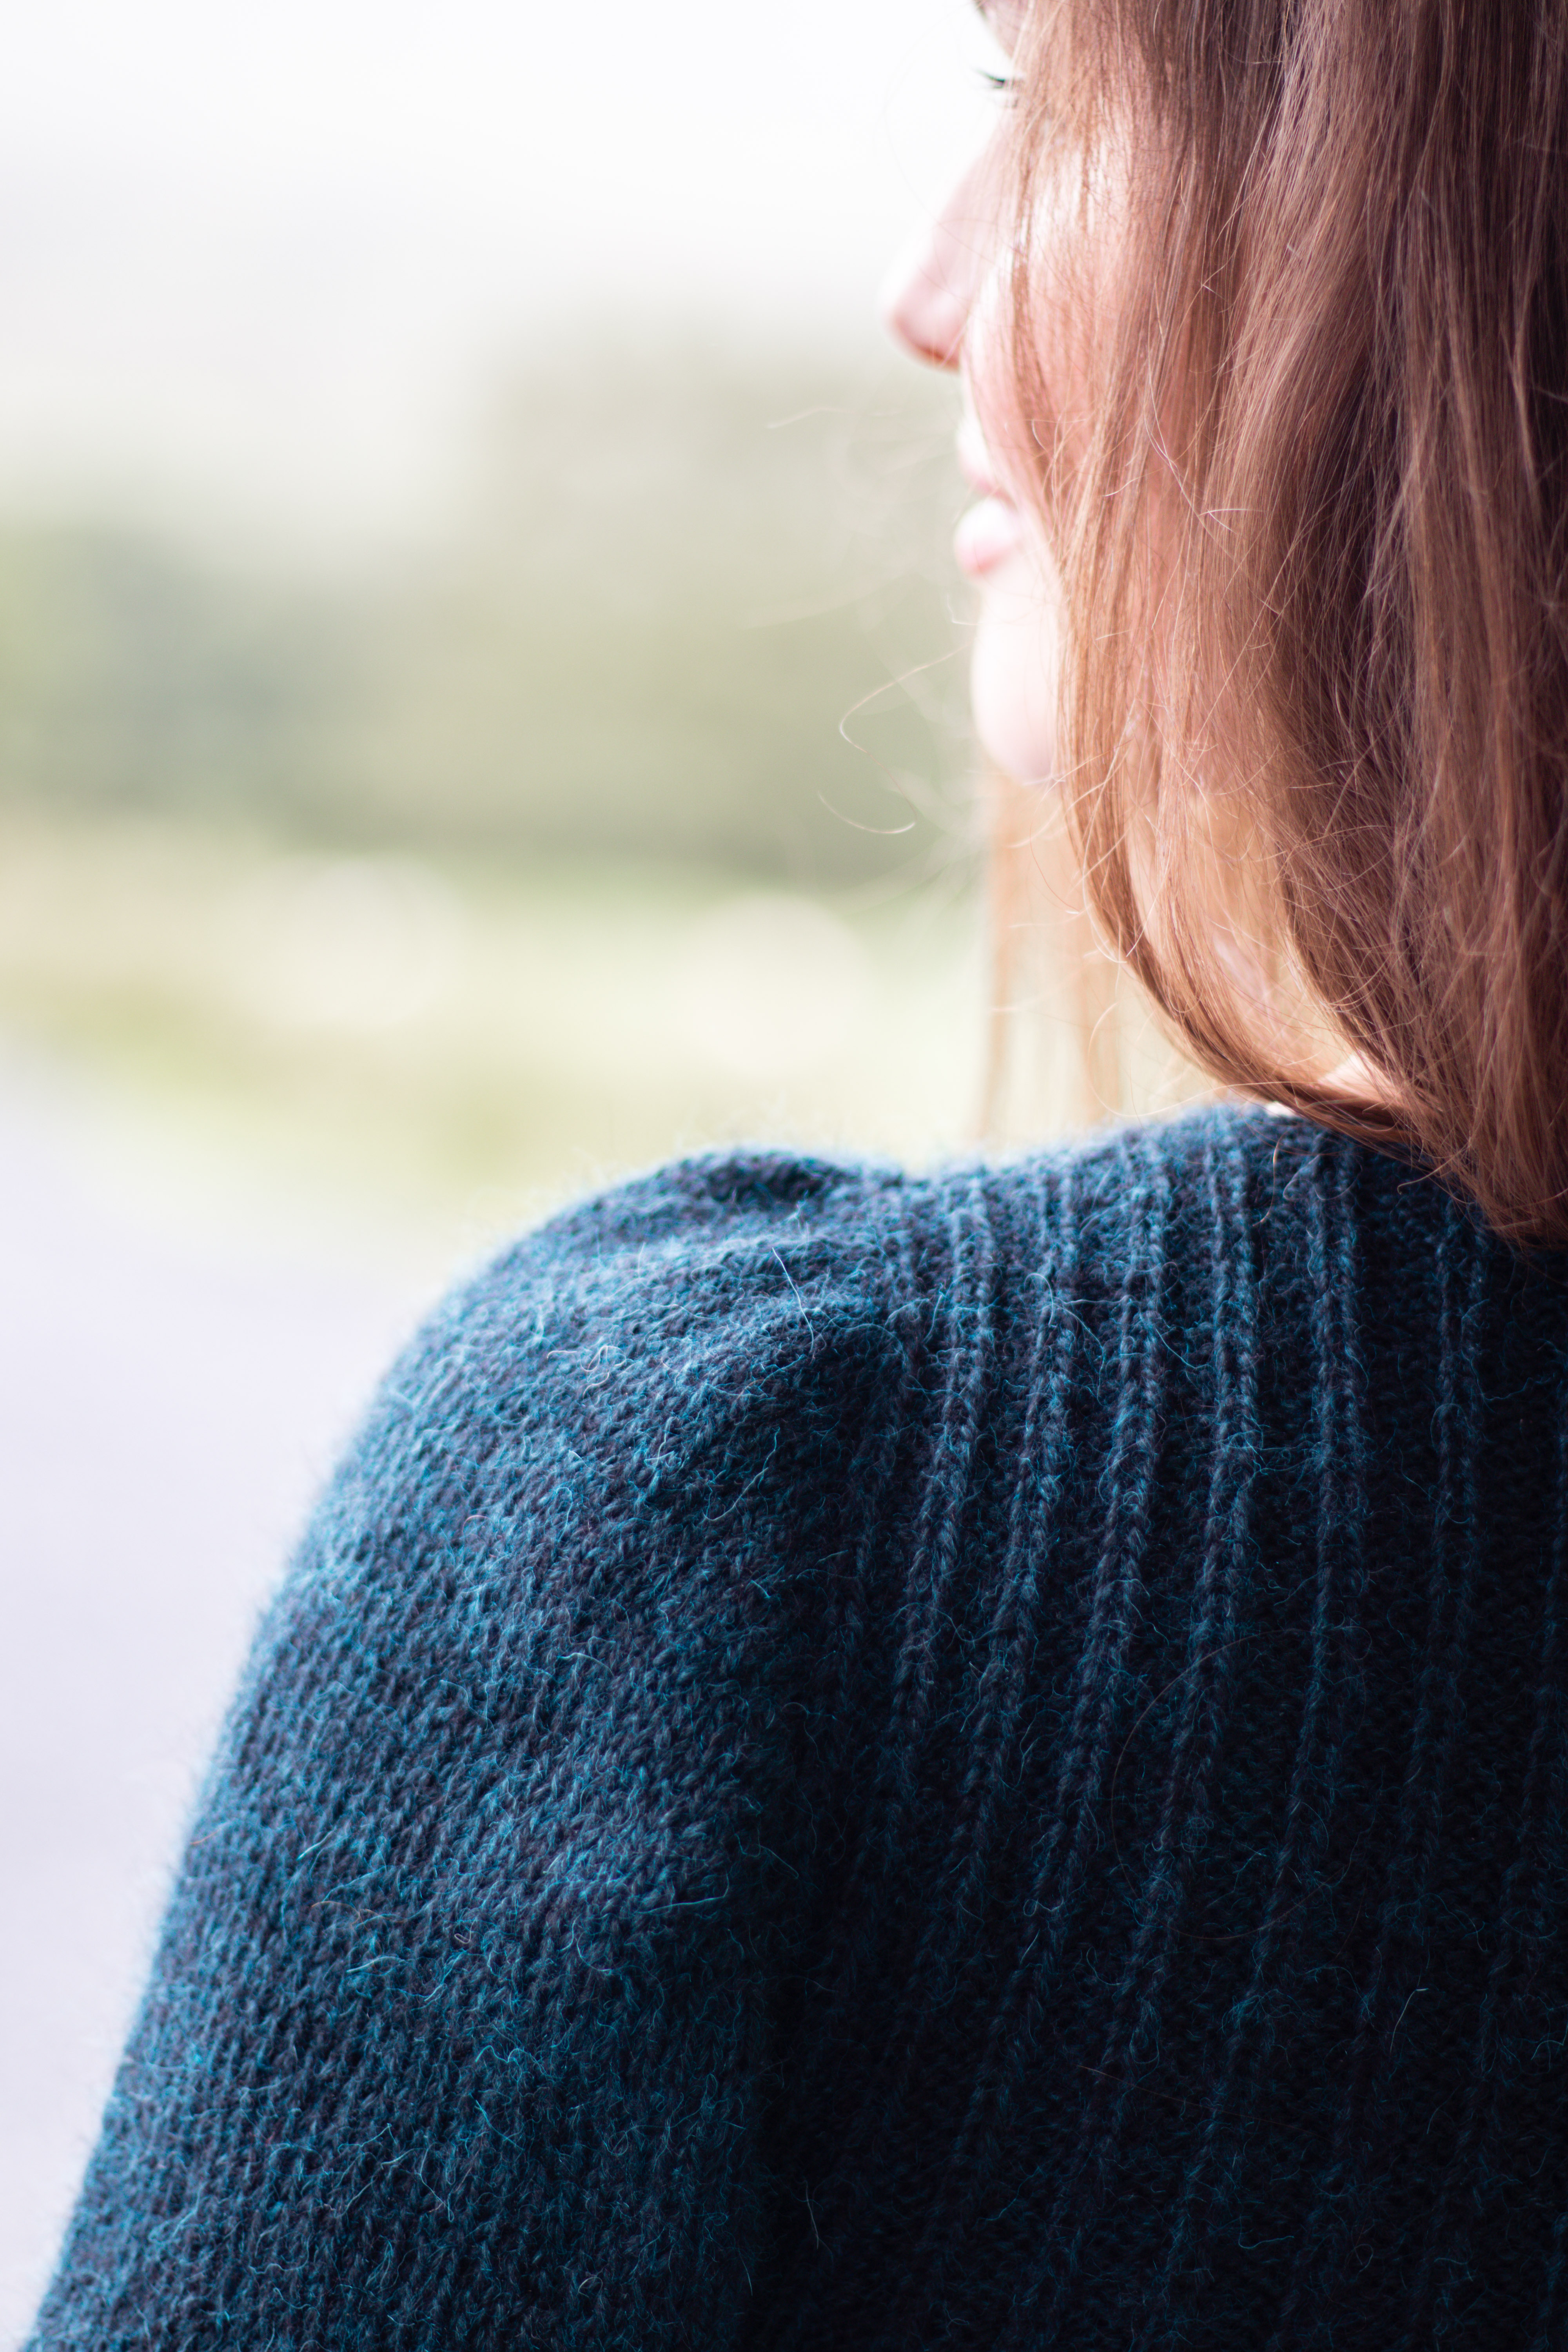
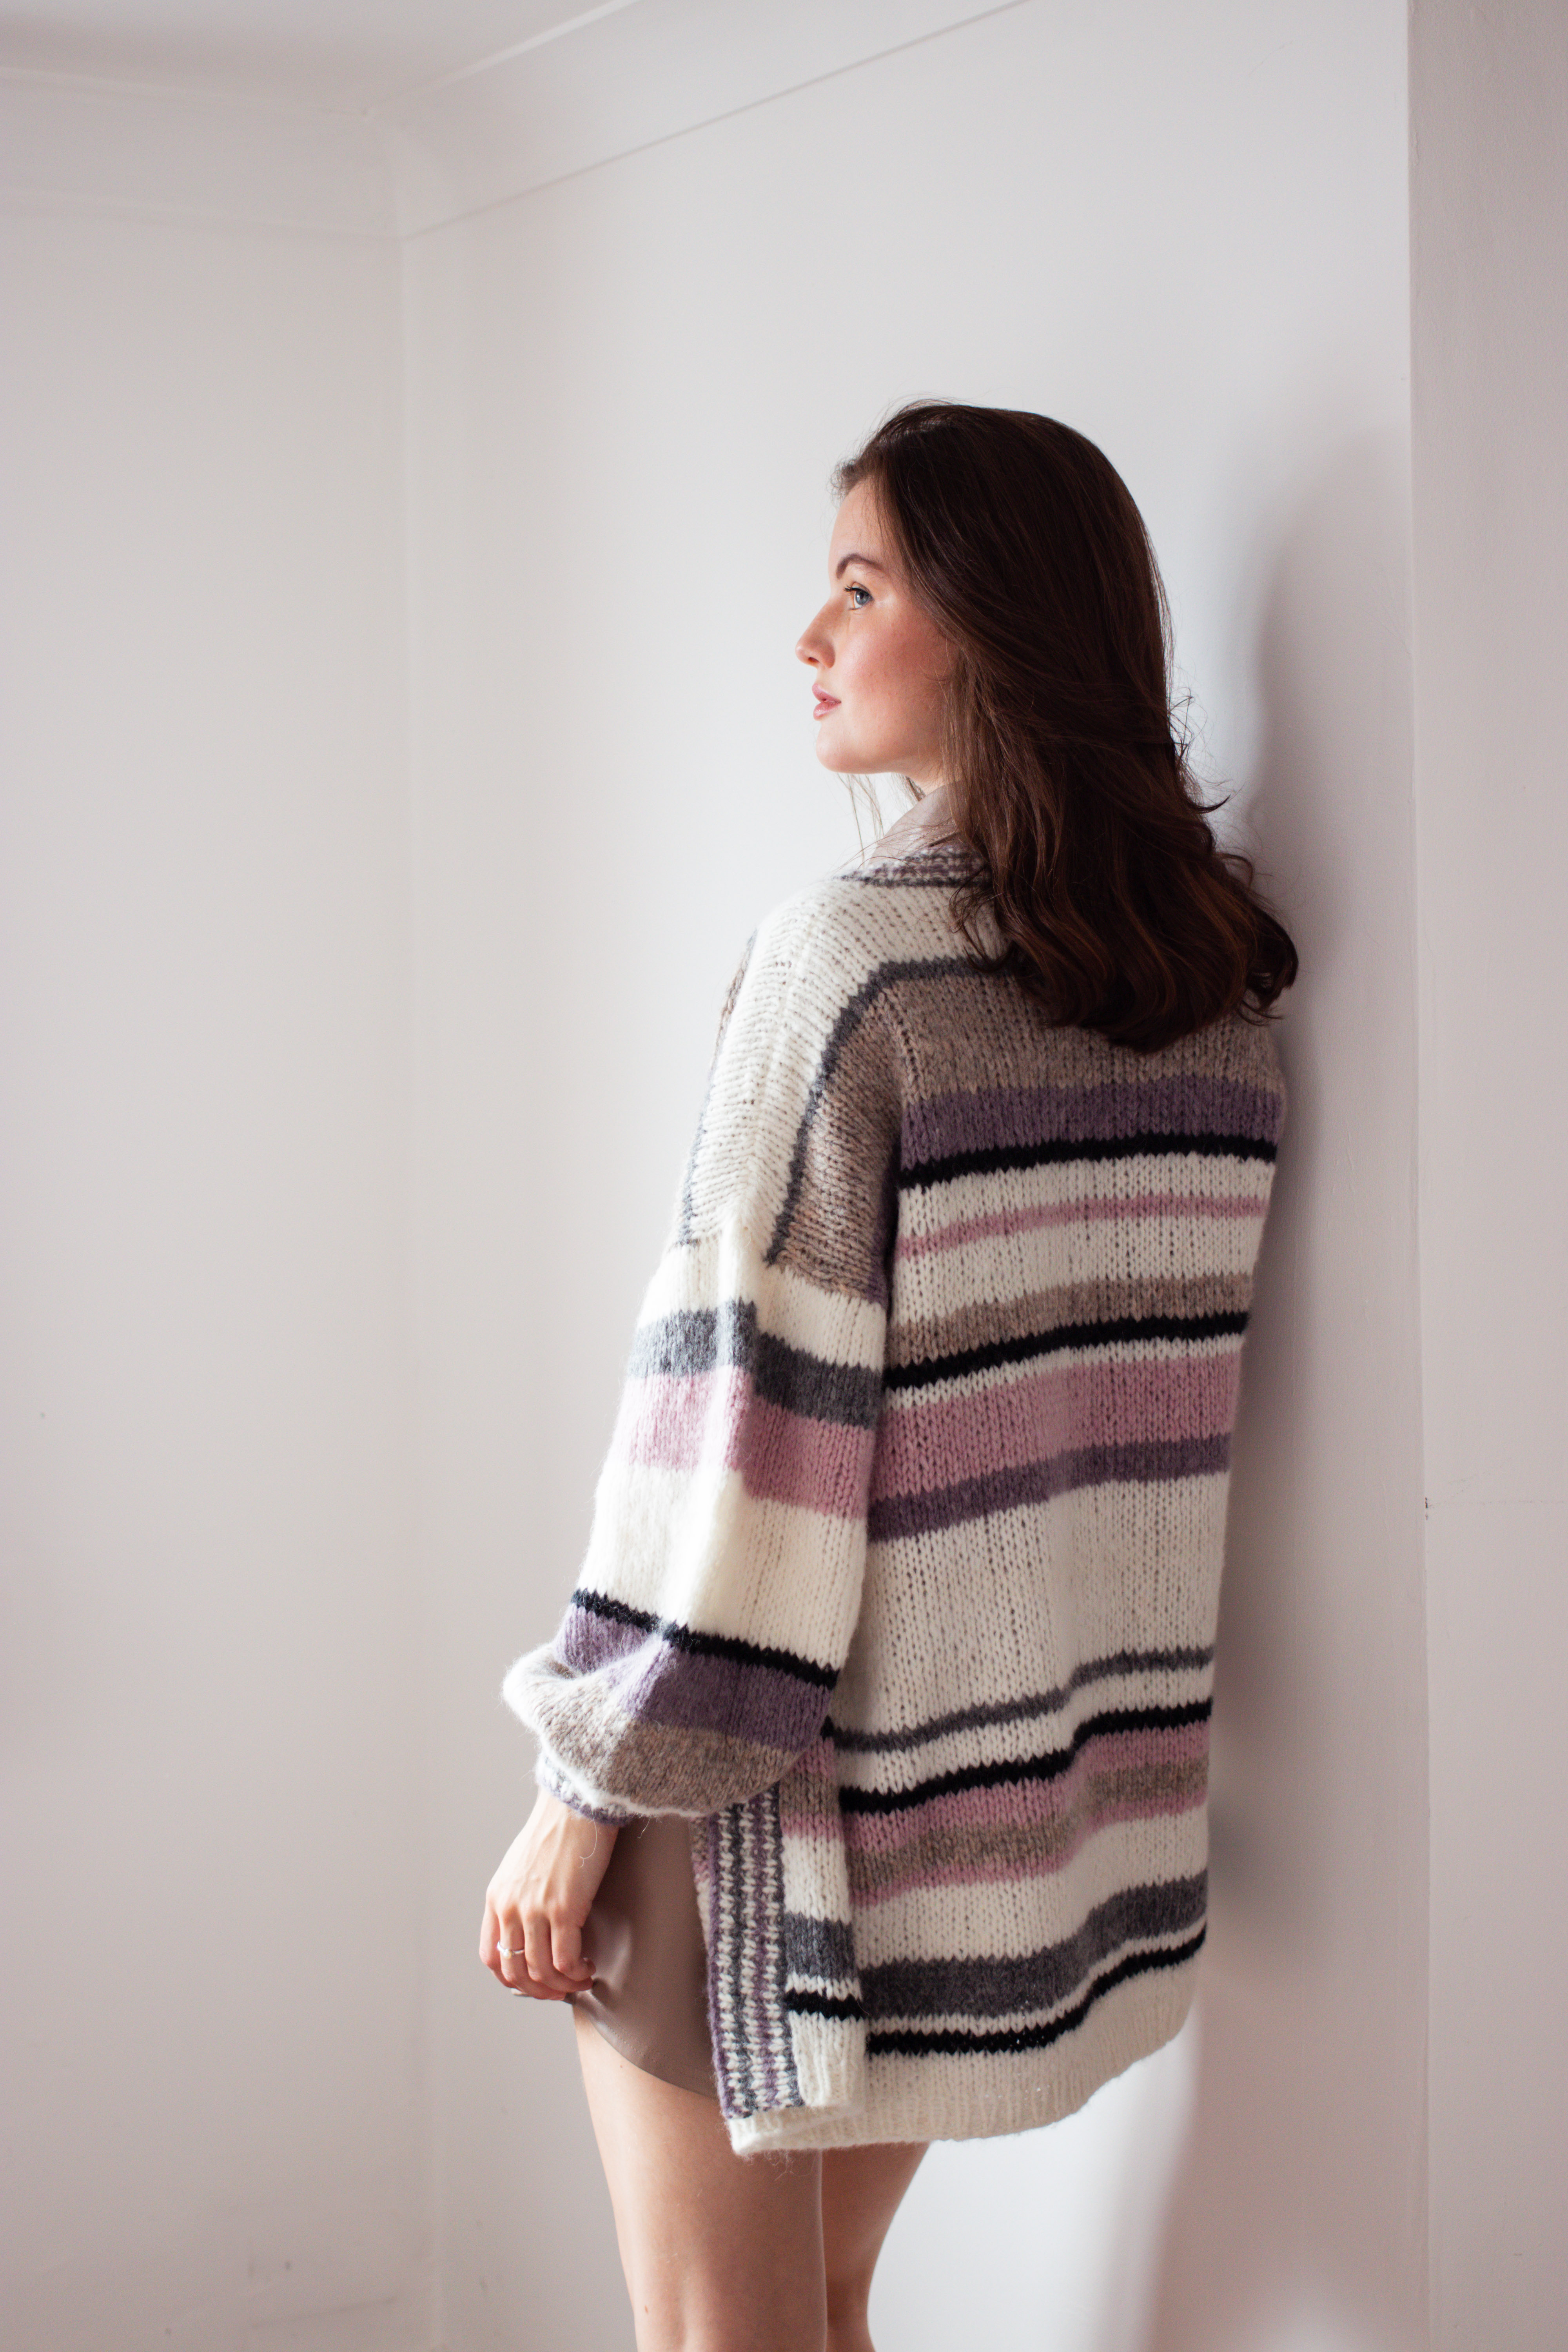
Side lighting works especially well for knitwear.
Natural lighting is a fairly obvious starting point, but more specifically, side lighting works brilliantly for knitwear. Stitches and textures show up so well when lit from the side, such as standing side on to a window. Like I said, coathanger photos are great, but if lit straight on they can look pretty flat. Side lighting gives nice shadows to make a basic photo more interesting. For flat lays, I generally lay a piece of A1 coloured card (The Range have a good selection) on the floor a few feet from a window, so the item / yarn isn’t lit from directly above. It just produces a more 3 dimensional image, which conveys the tactile nature of knitting well.
Backlighting is beautiful.
Are you sensing a theme here? Lighting is everything! Backlighting can be a tricky one to master as it generally requires knowledge of camera metering, but the shots can turn out so pretty. Meter your camera / phone from the item so the background is overexposed and play around with shutter speed until you hit the sweet spot. I adore how sheer (especially mohair) knits look photographed this way – it really does convey the cobwebby feel!
As for posing tips, if you’re modelling the knits yourself…
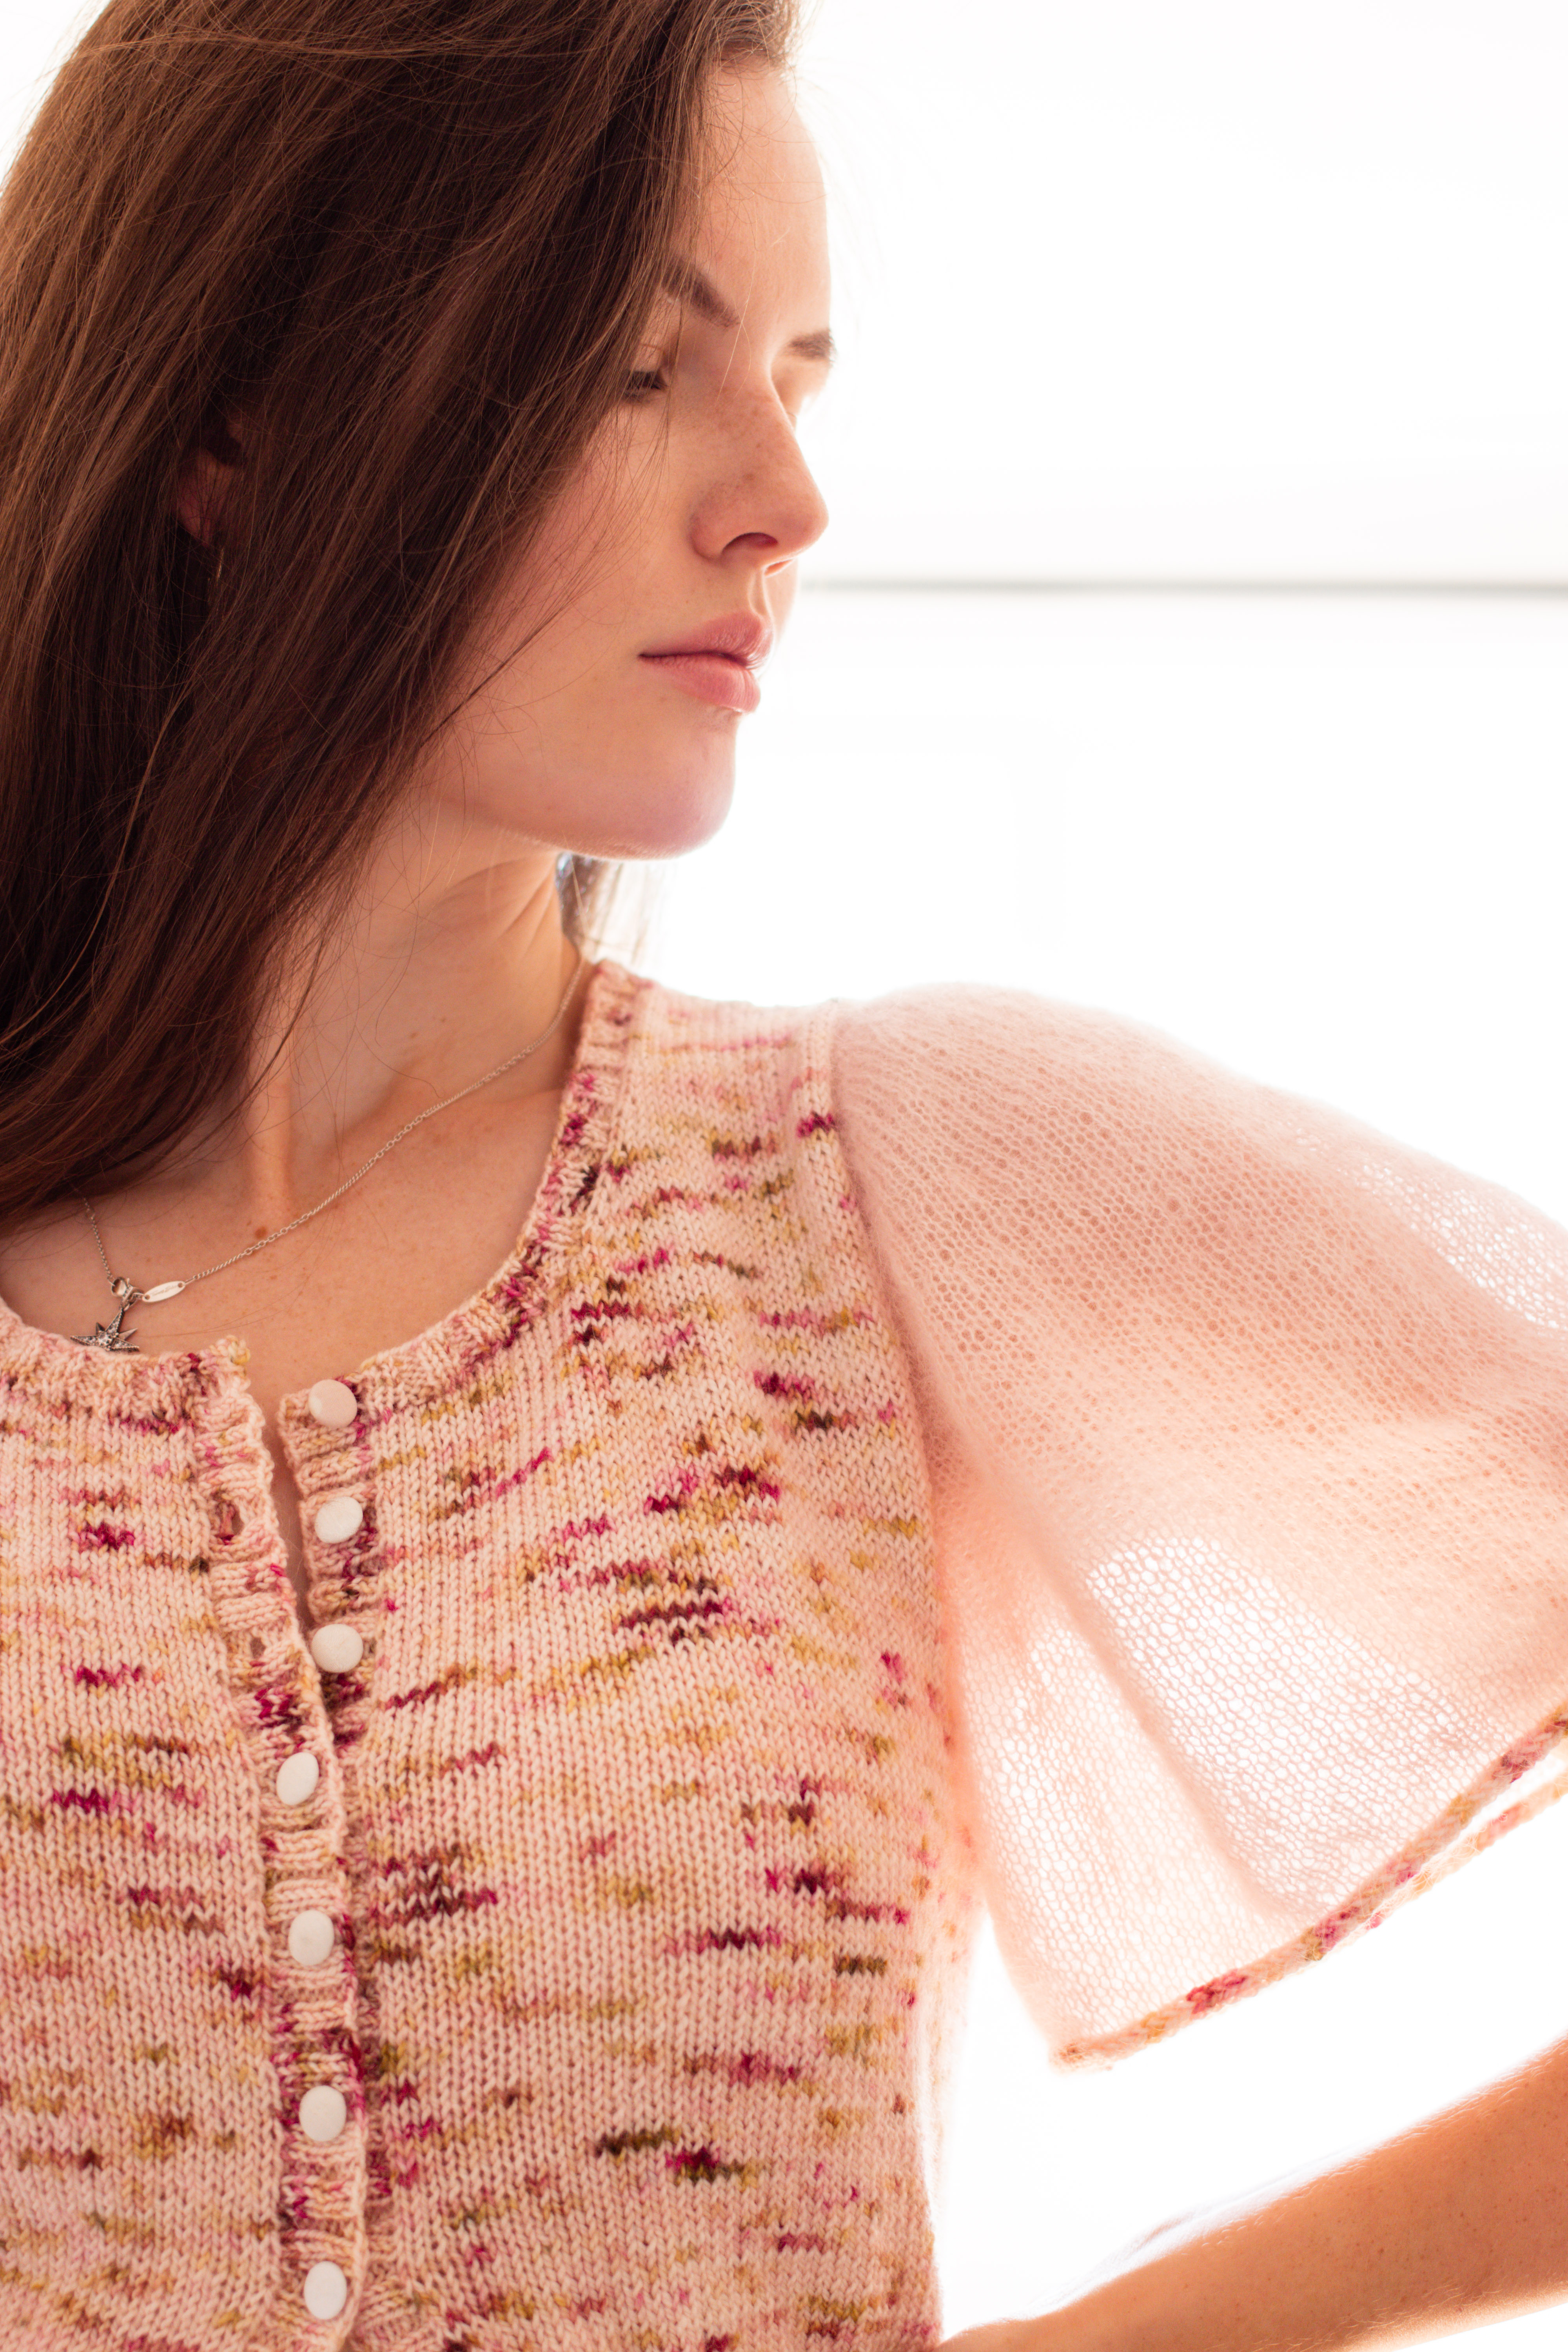
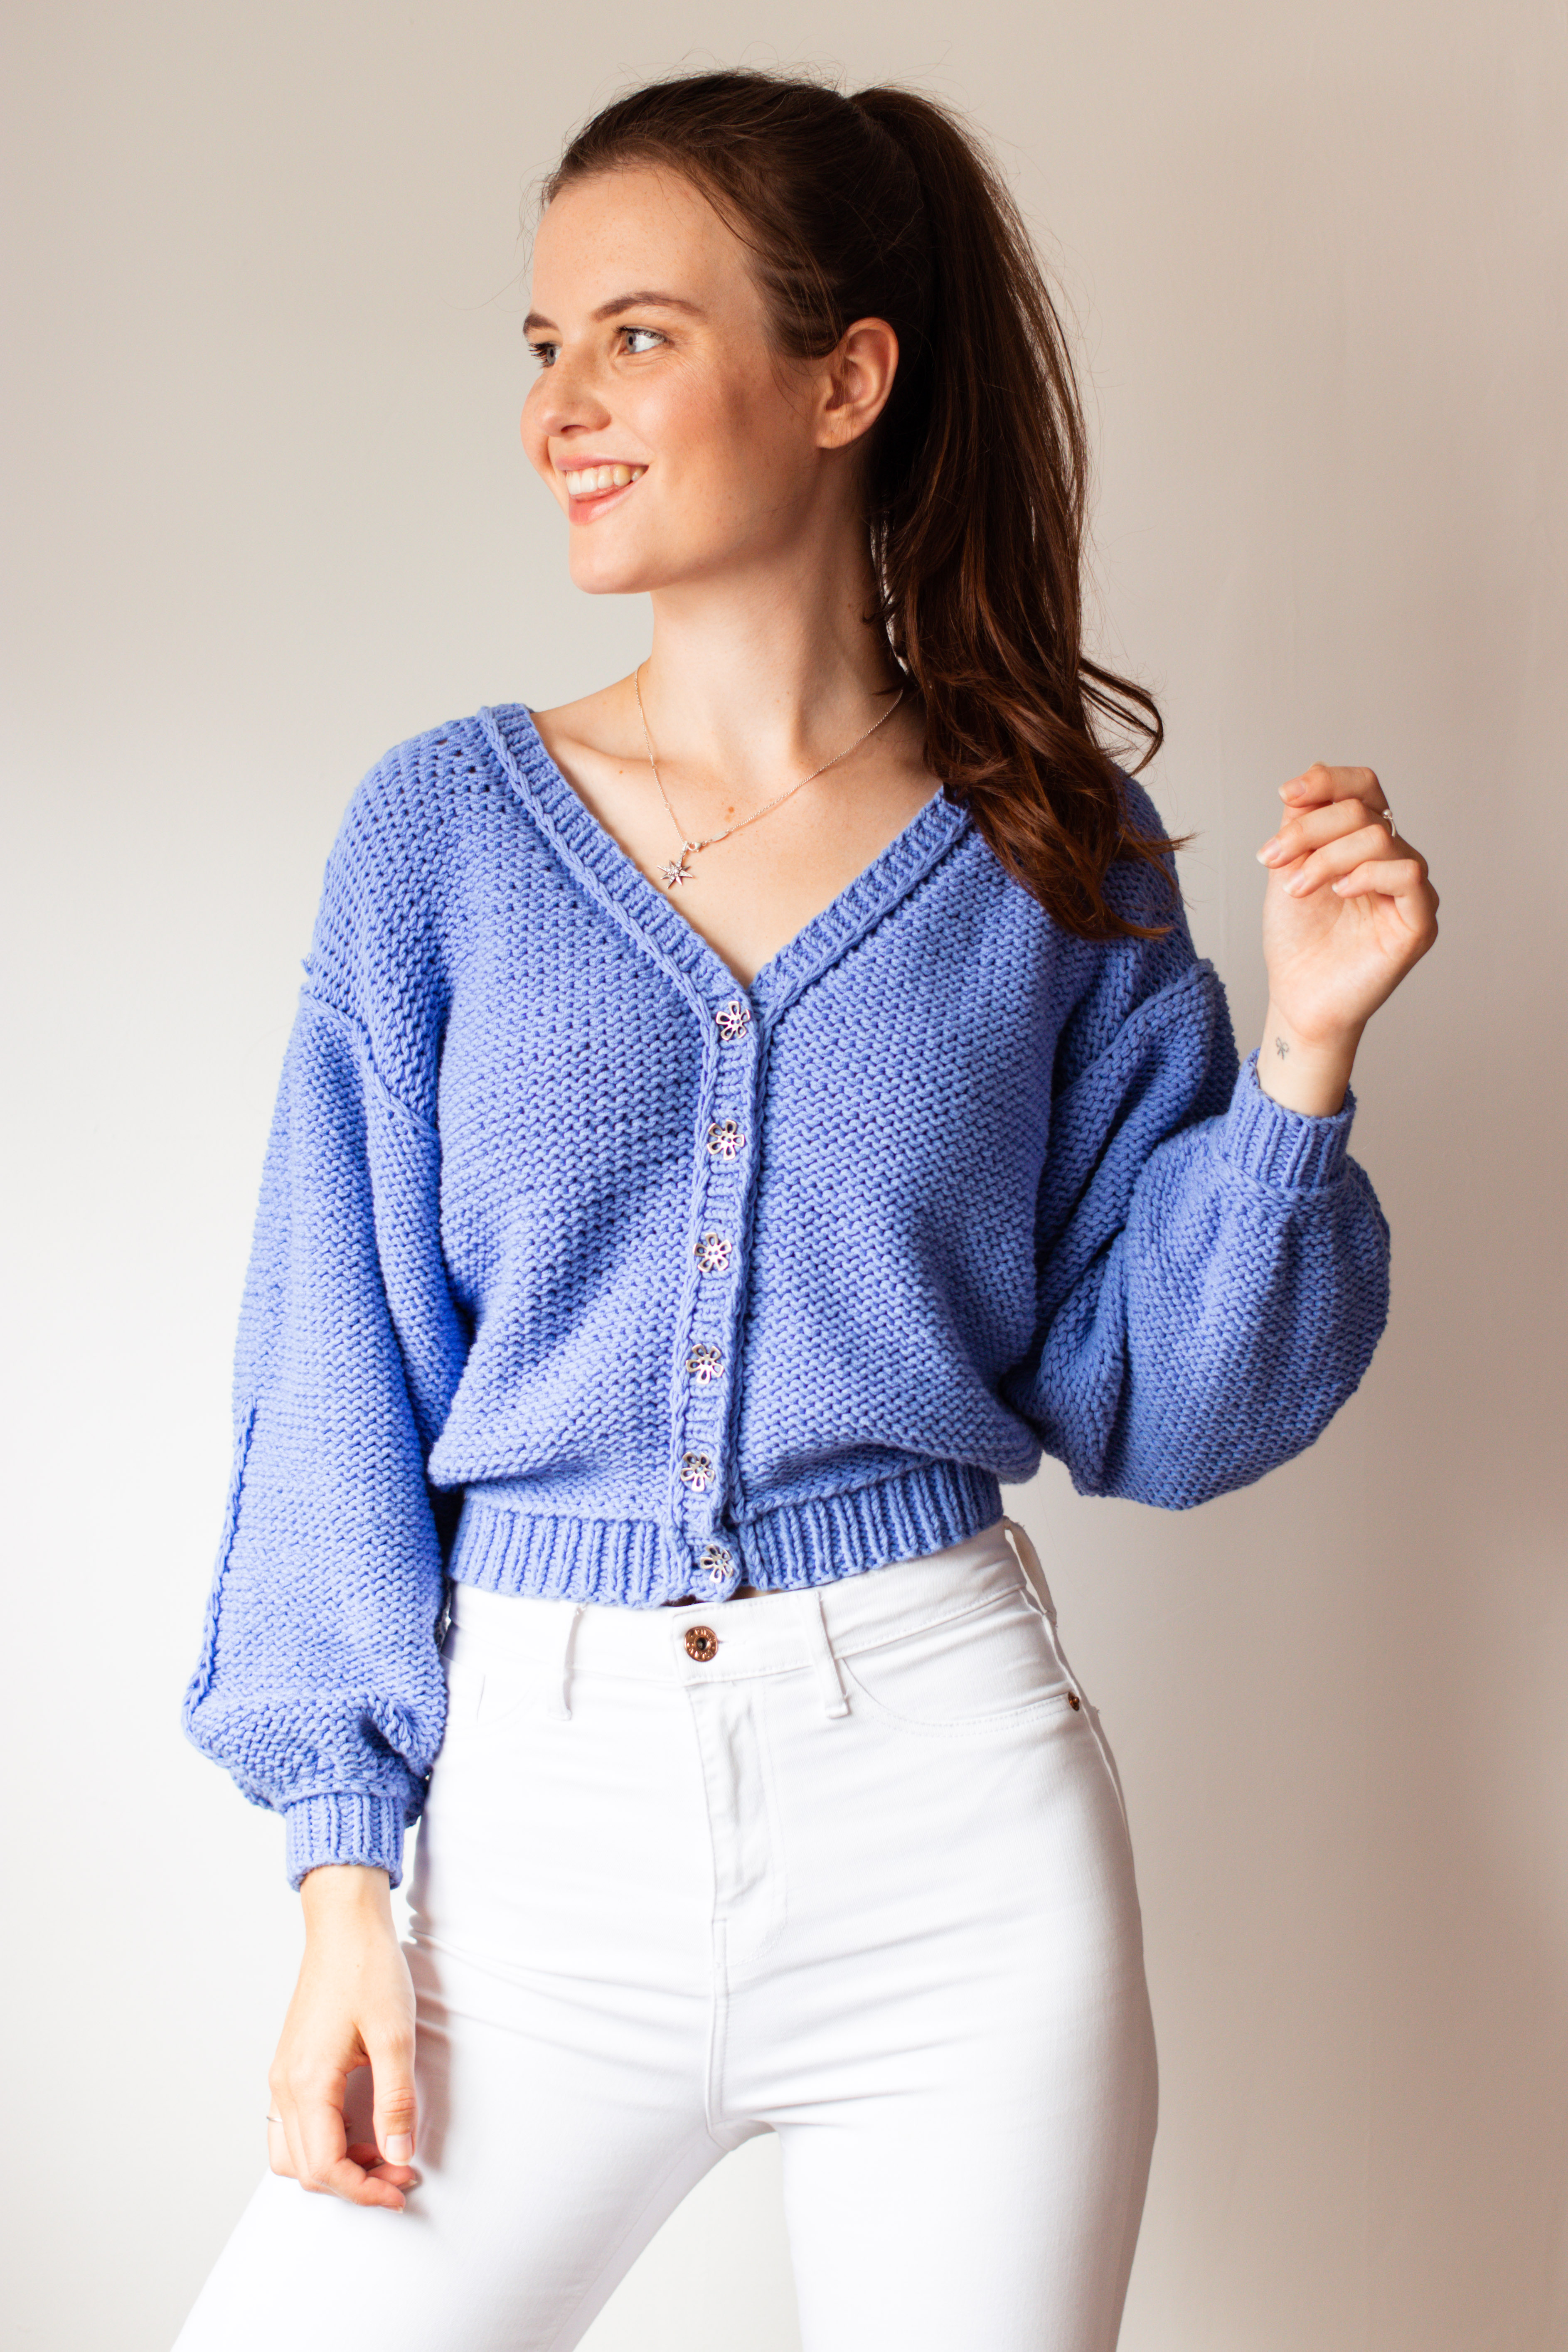
Look away from the camera.
If photographing knits on yourself, this can help to A) feel less awkward if you’re not used to looking down the lens, and B) keep the focus on the knits. Looking off to the side is my favourite pose – I do it so often I should probably mix it up a bit! The lack of eye contact can make a shot feel more natural though and seem like less of a portrait, so is perfect when you want the focus to be on the garment.
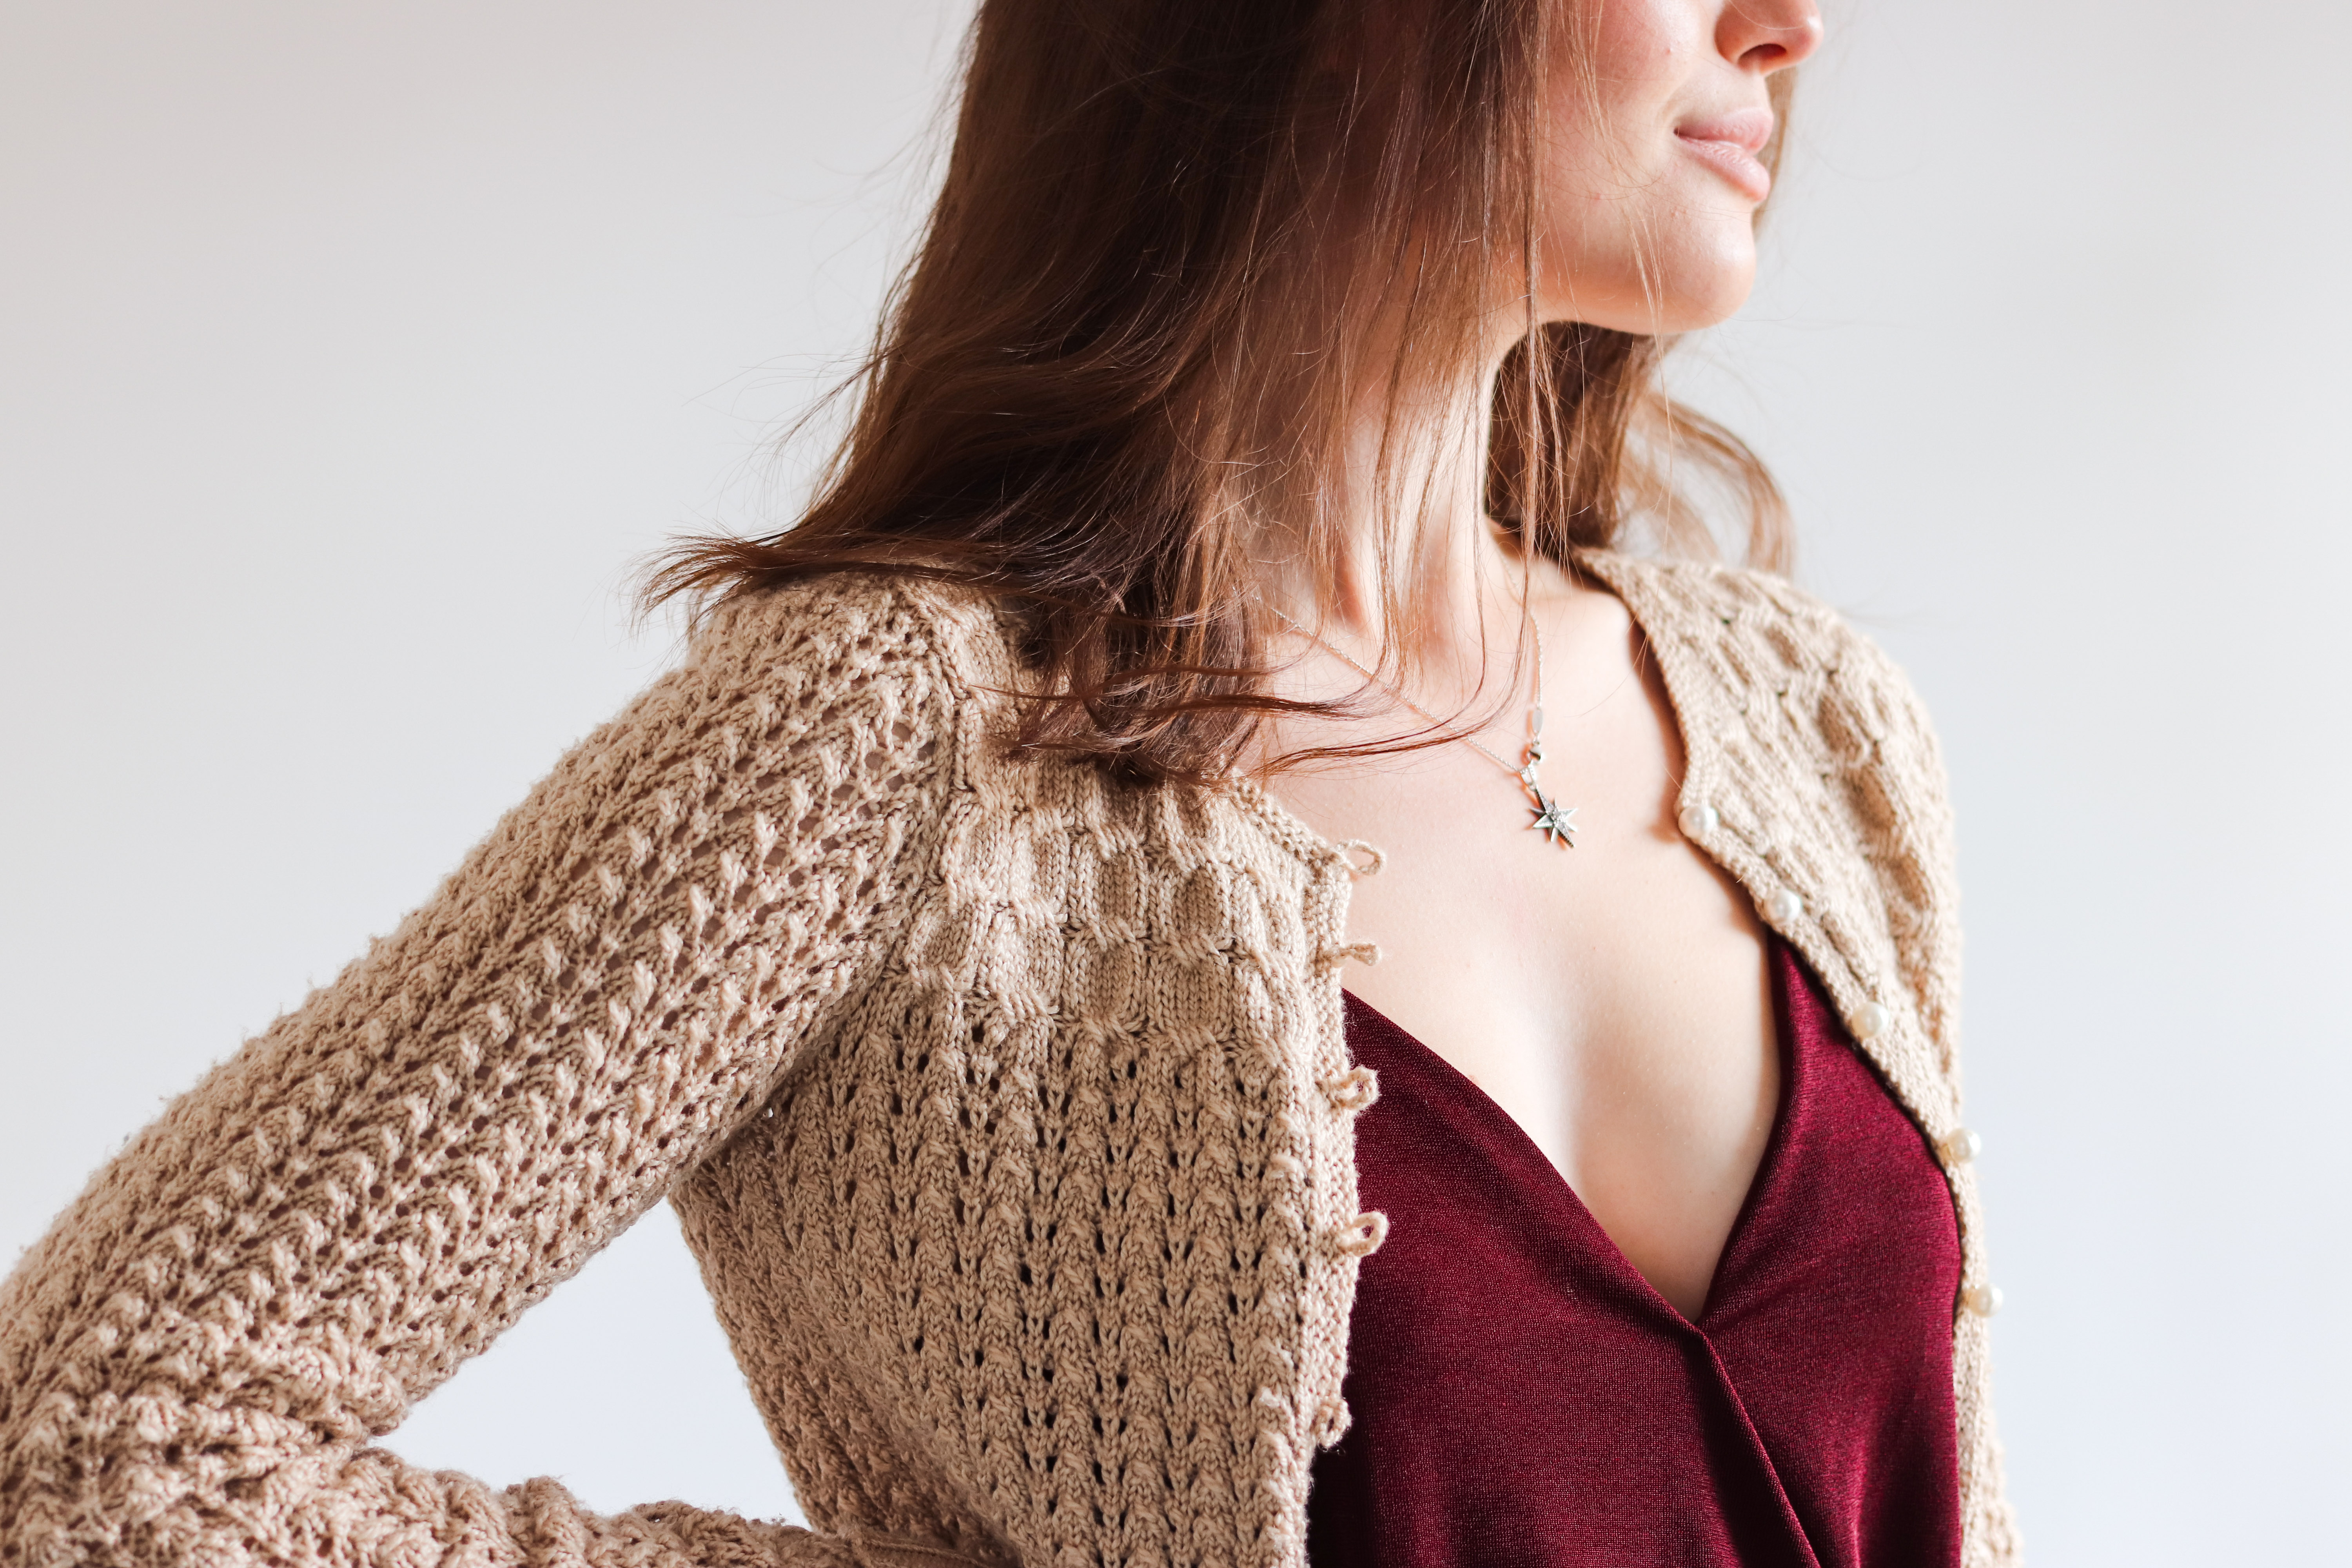
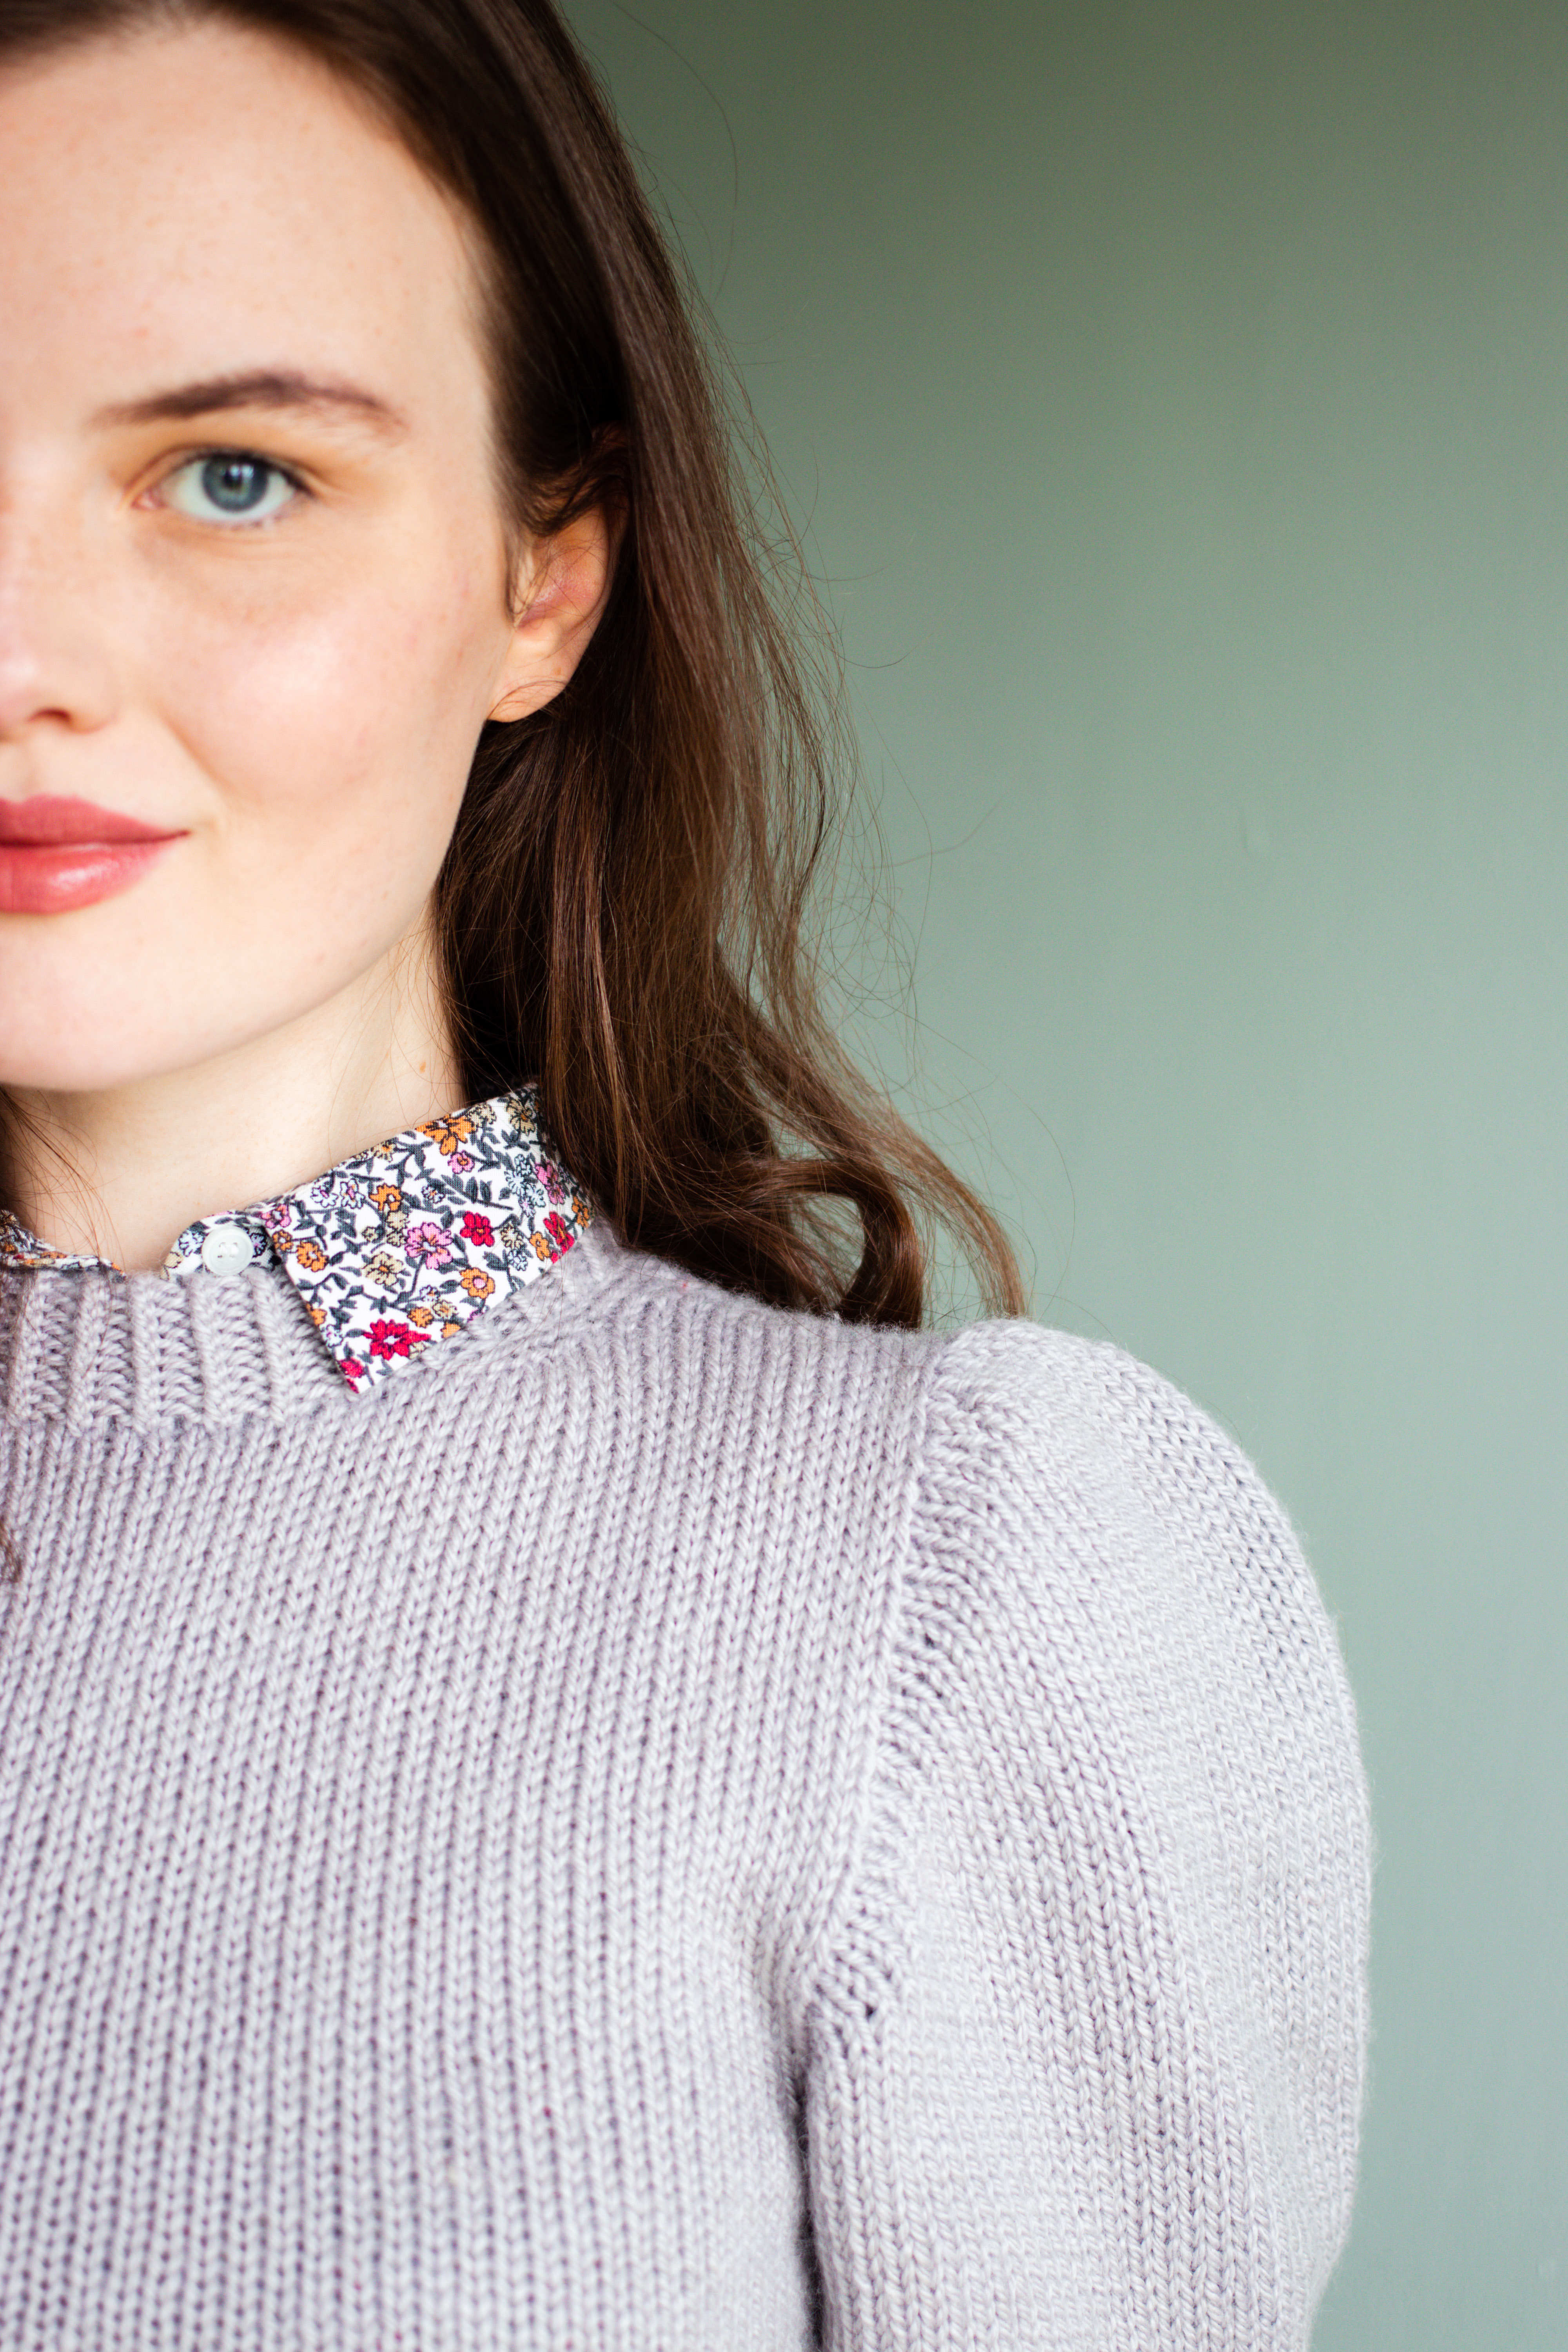
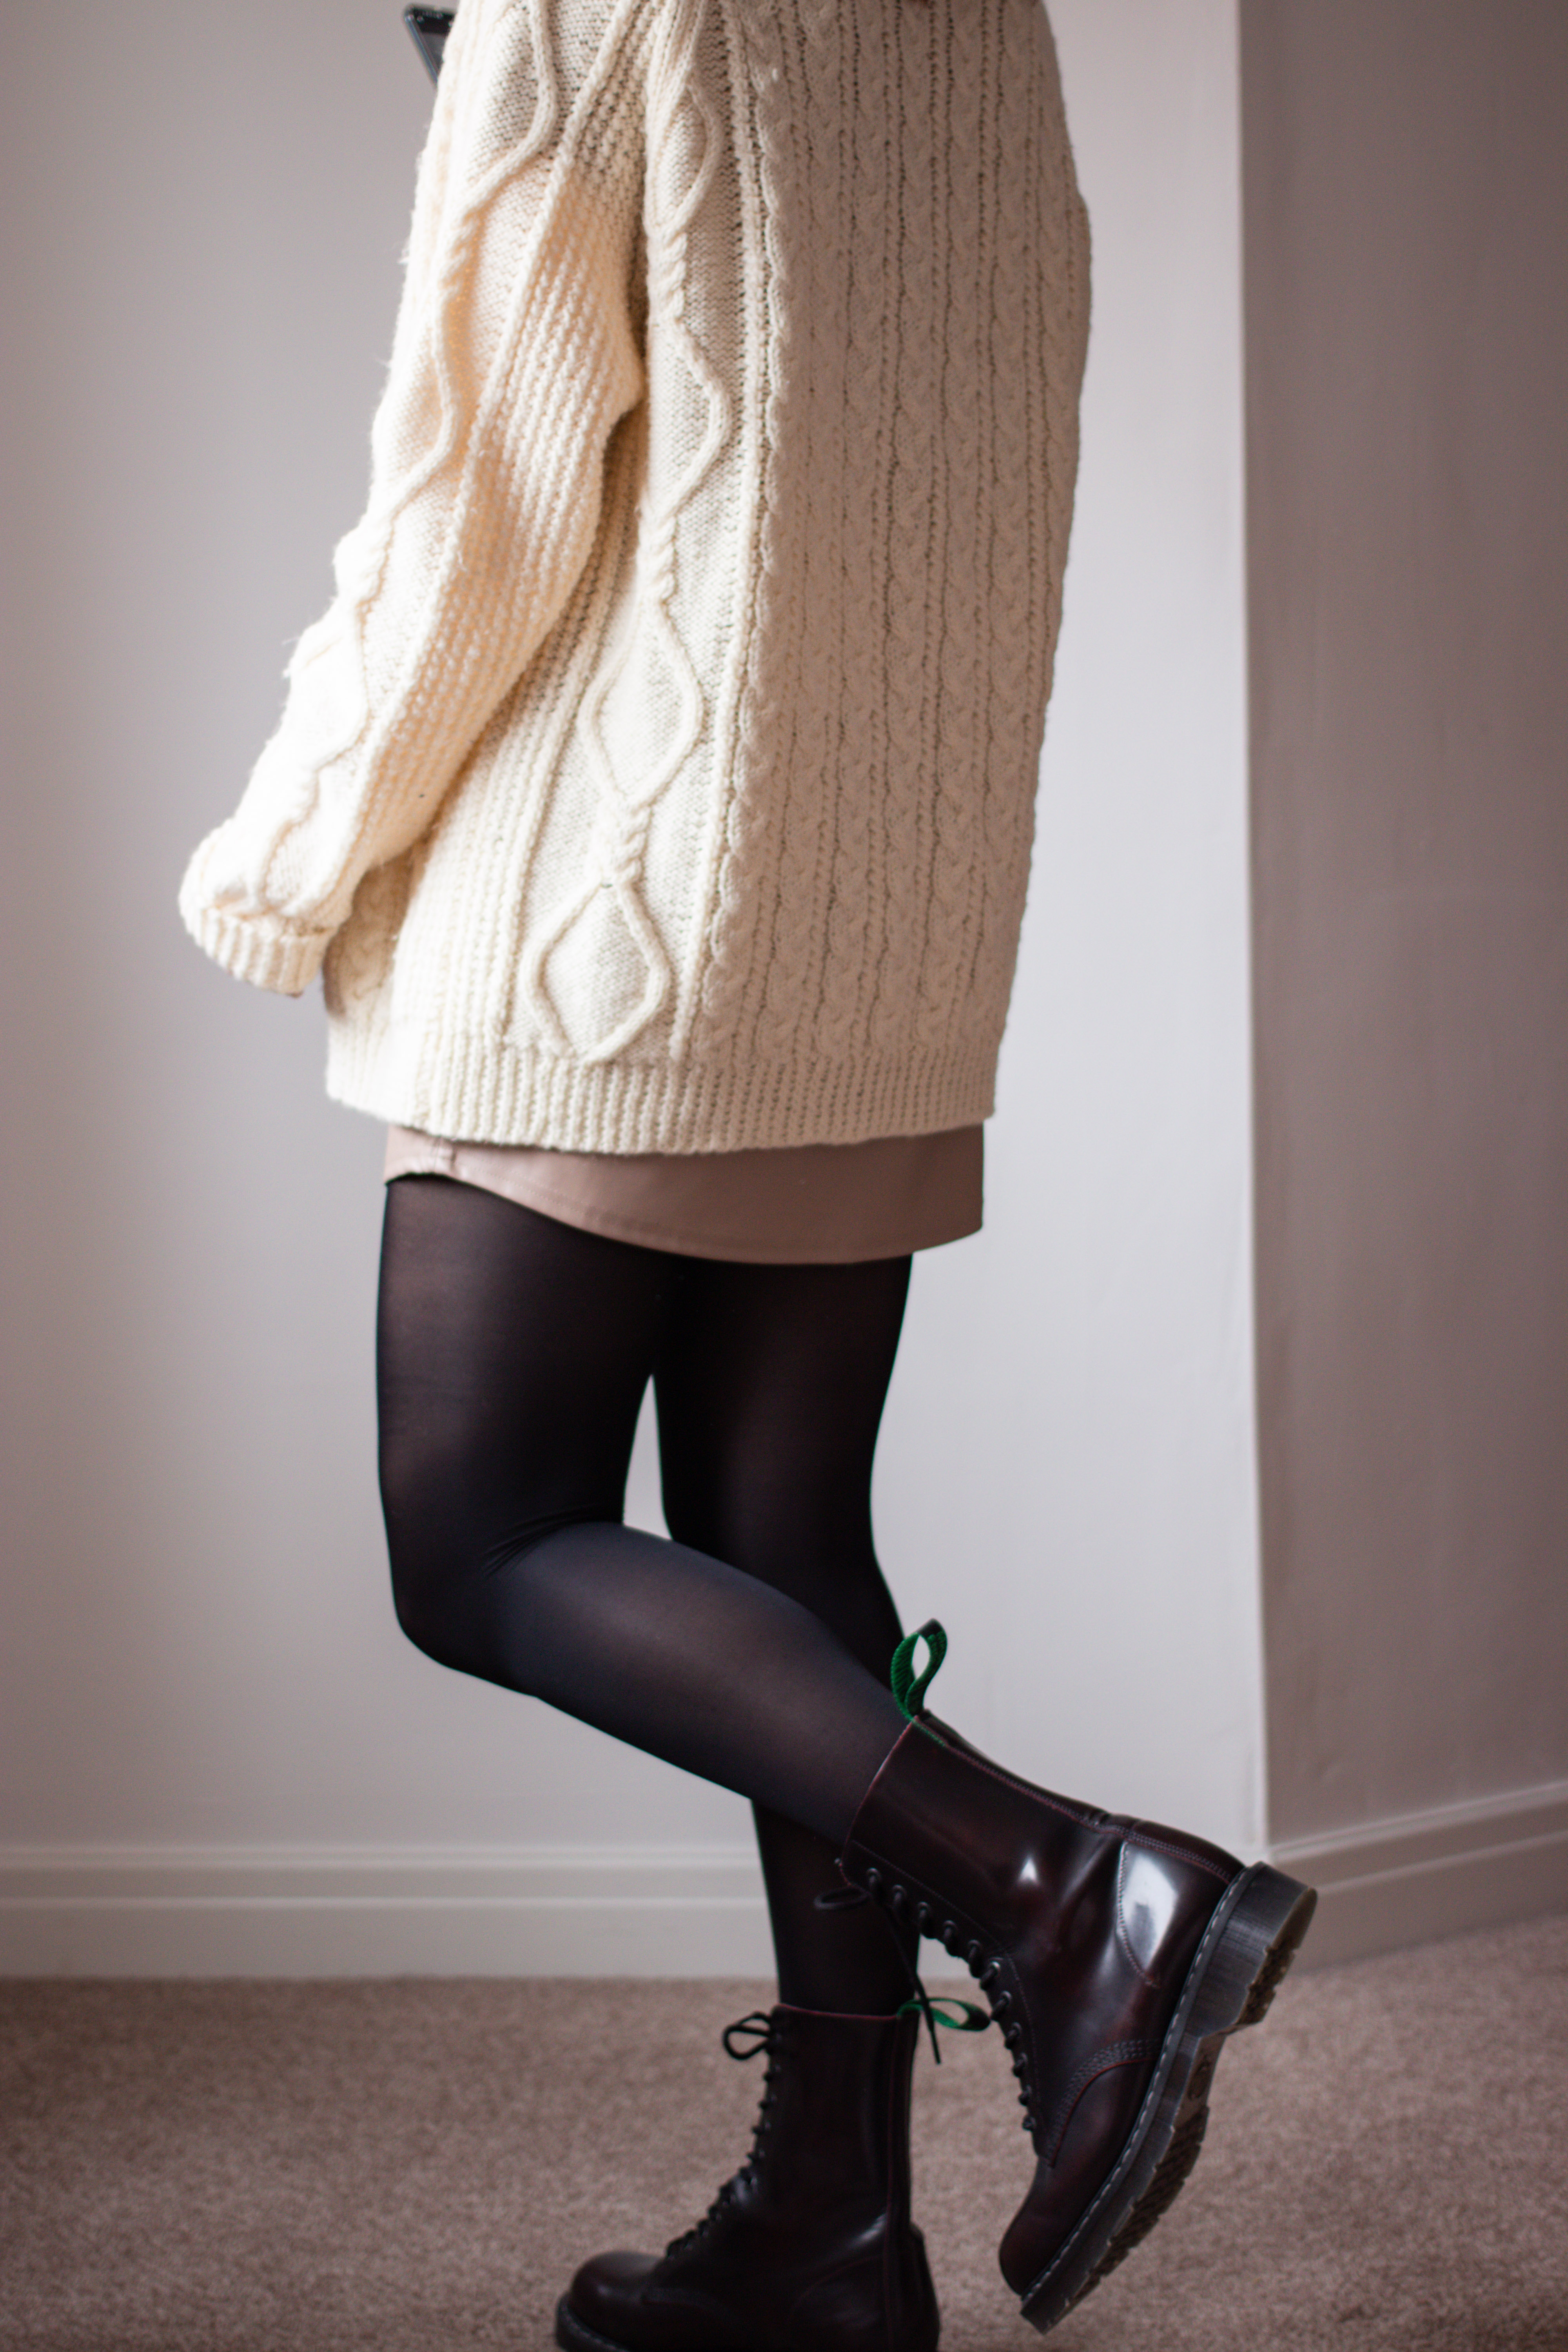
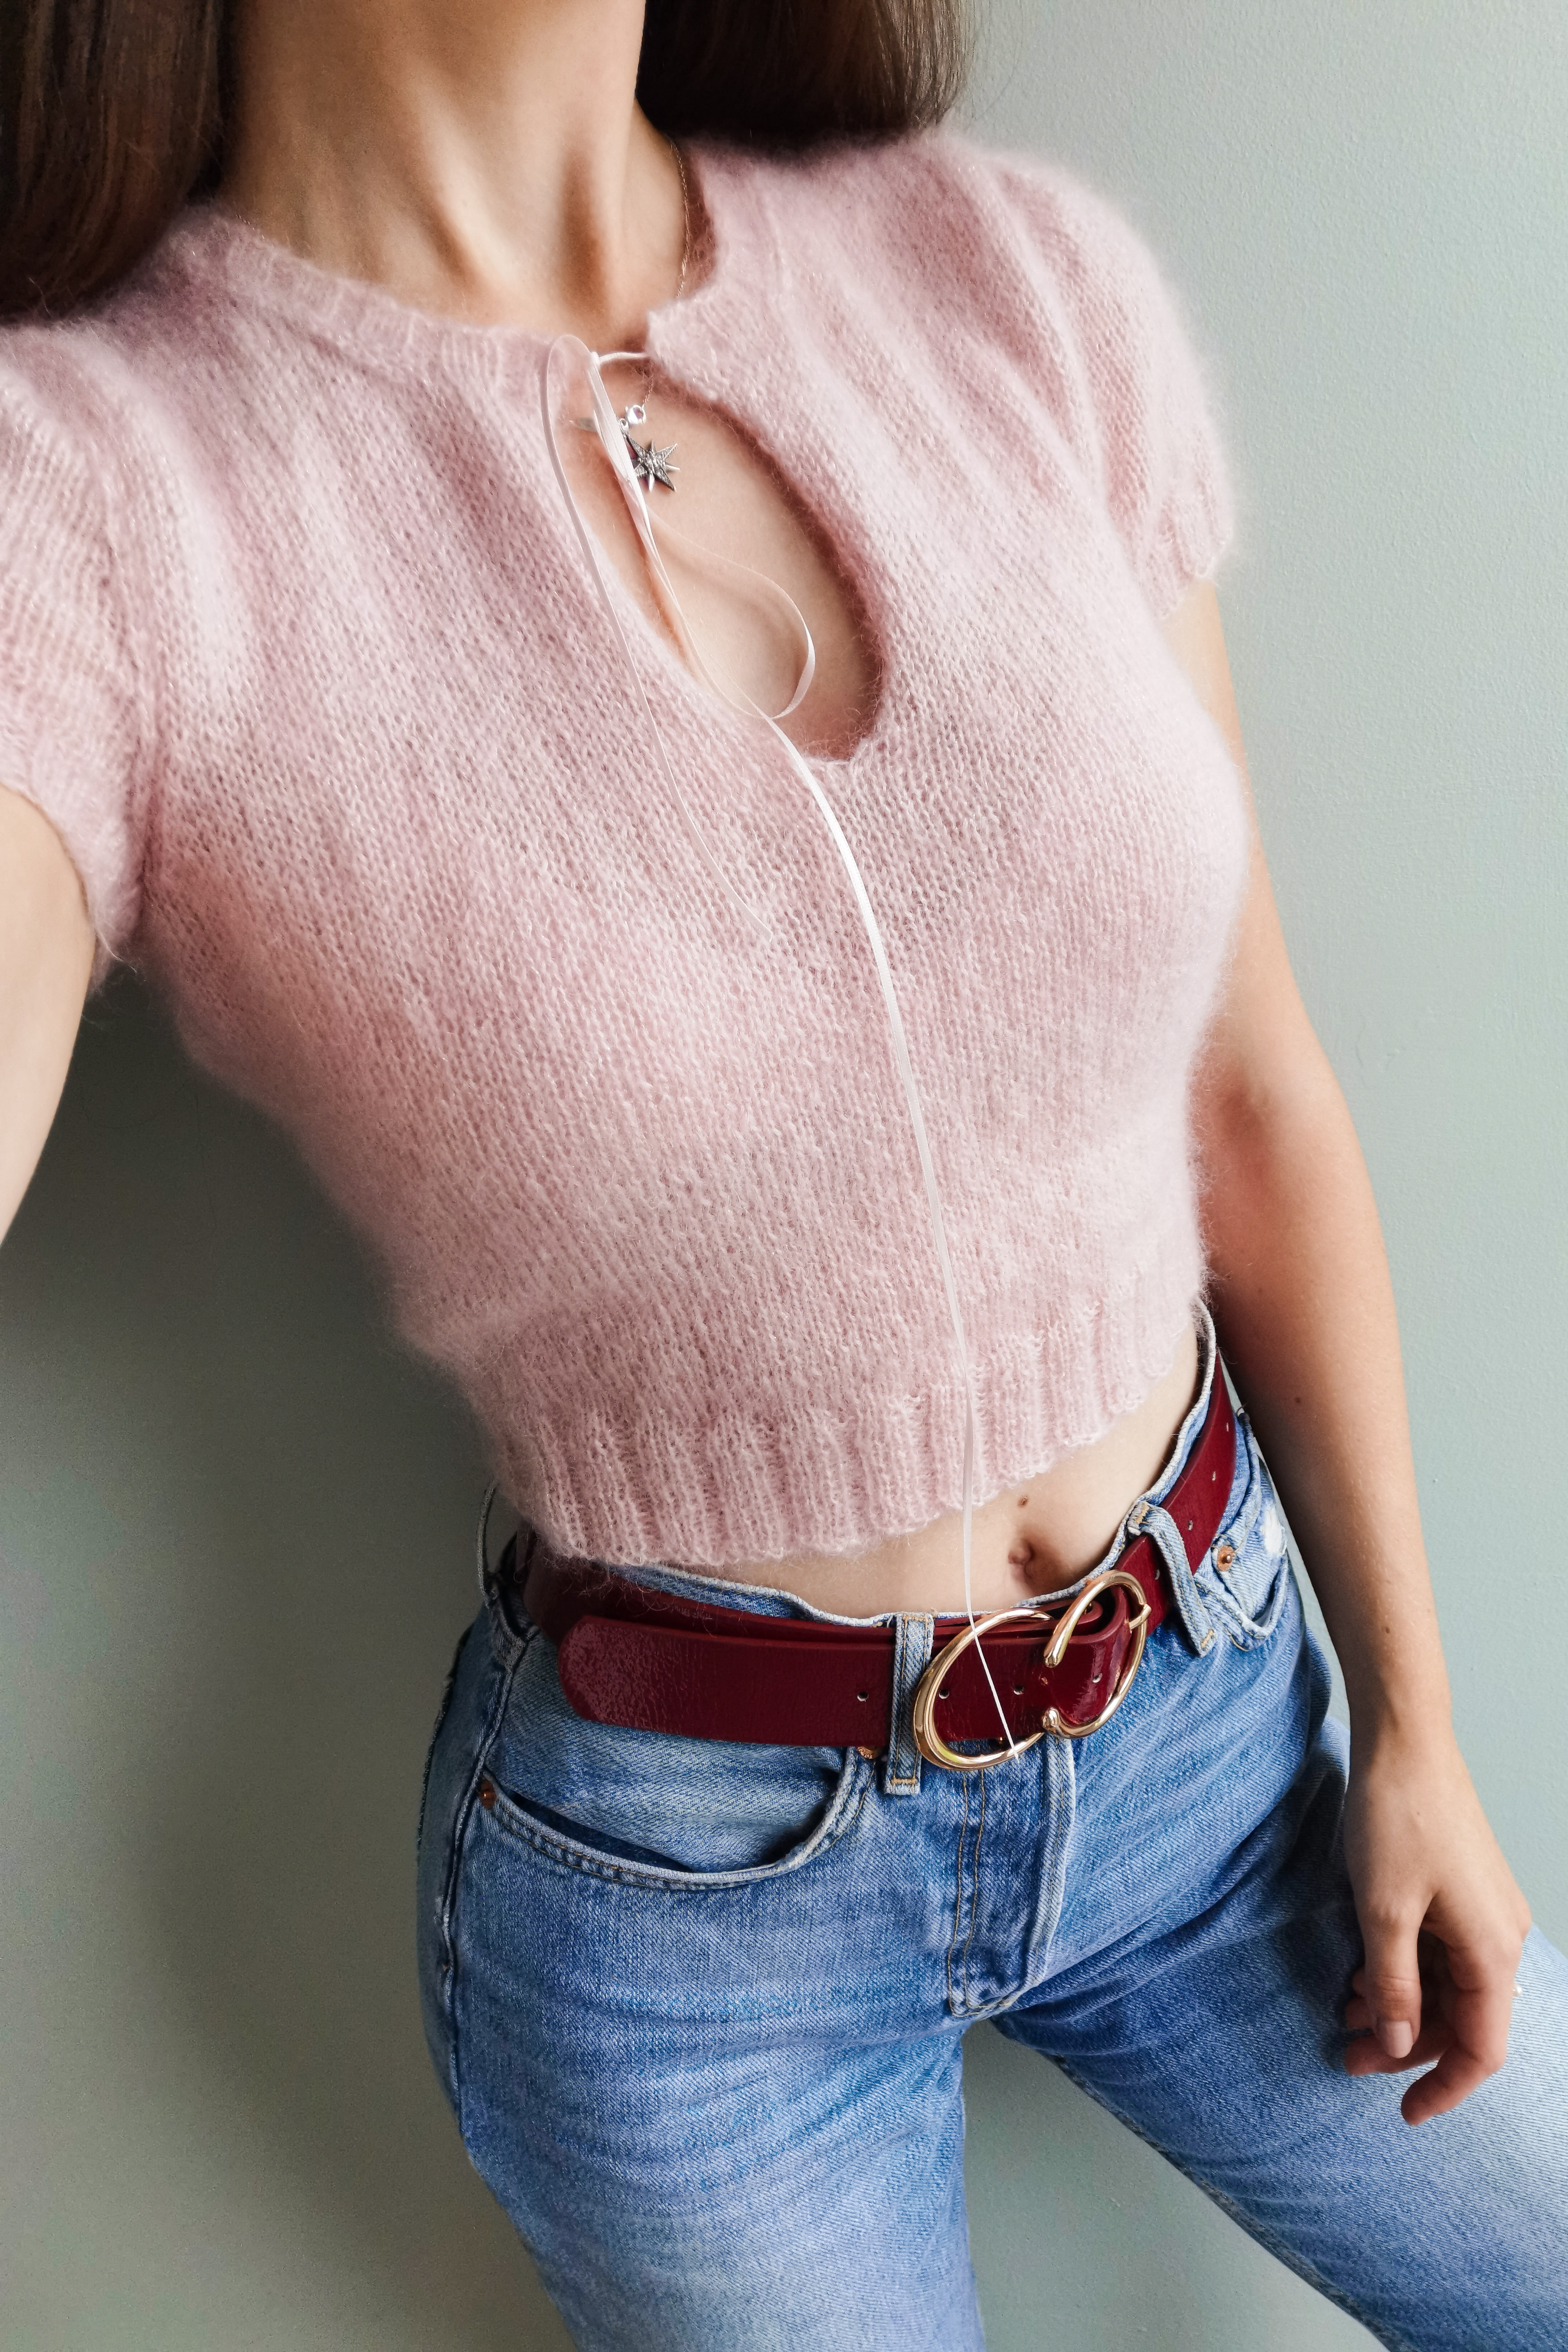
Show body parts for context
On a similar note, just showing body parts in a frame works really well. Crop part of your head out on days when you’re not feeling your best (my usual trick), or just show your hands. Including your legs or feet in a shot filled with yarn just makes a photo that bit more personal. Showing only a partial item also works well. You don’t need to see both sleeves to get the idea.
A few other random tips…
For photos of knitwear or yarn on a bed, make life easier and put the duvet on the floor. Looks no different but is much easier to take a photo from above!
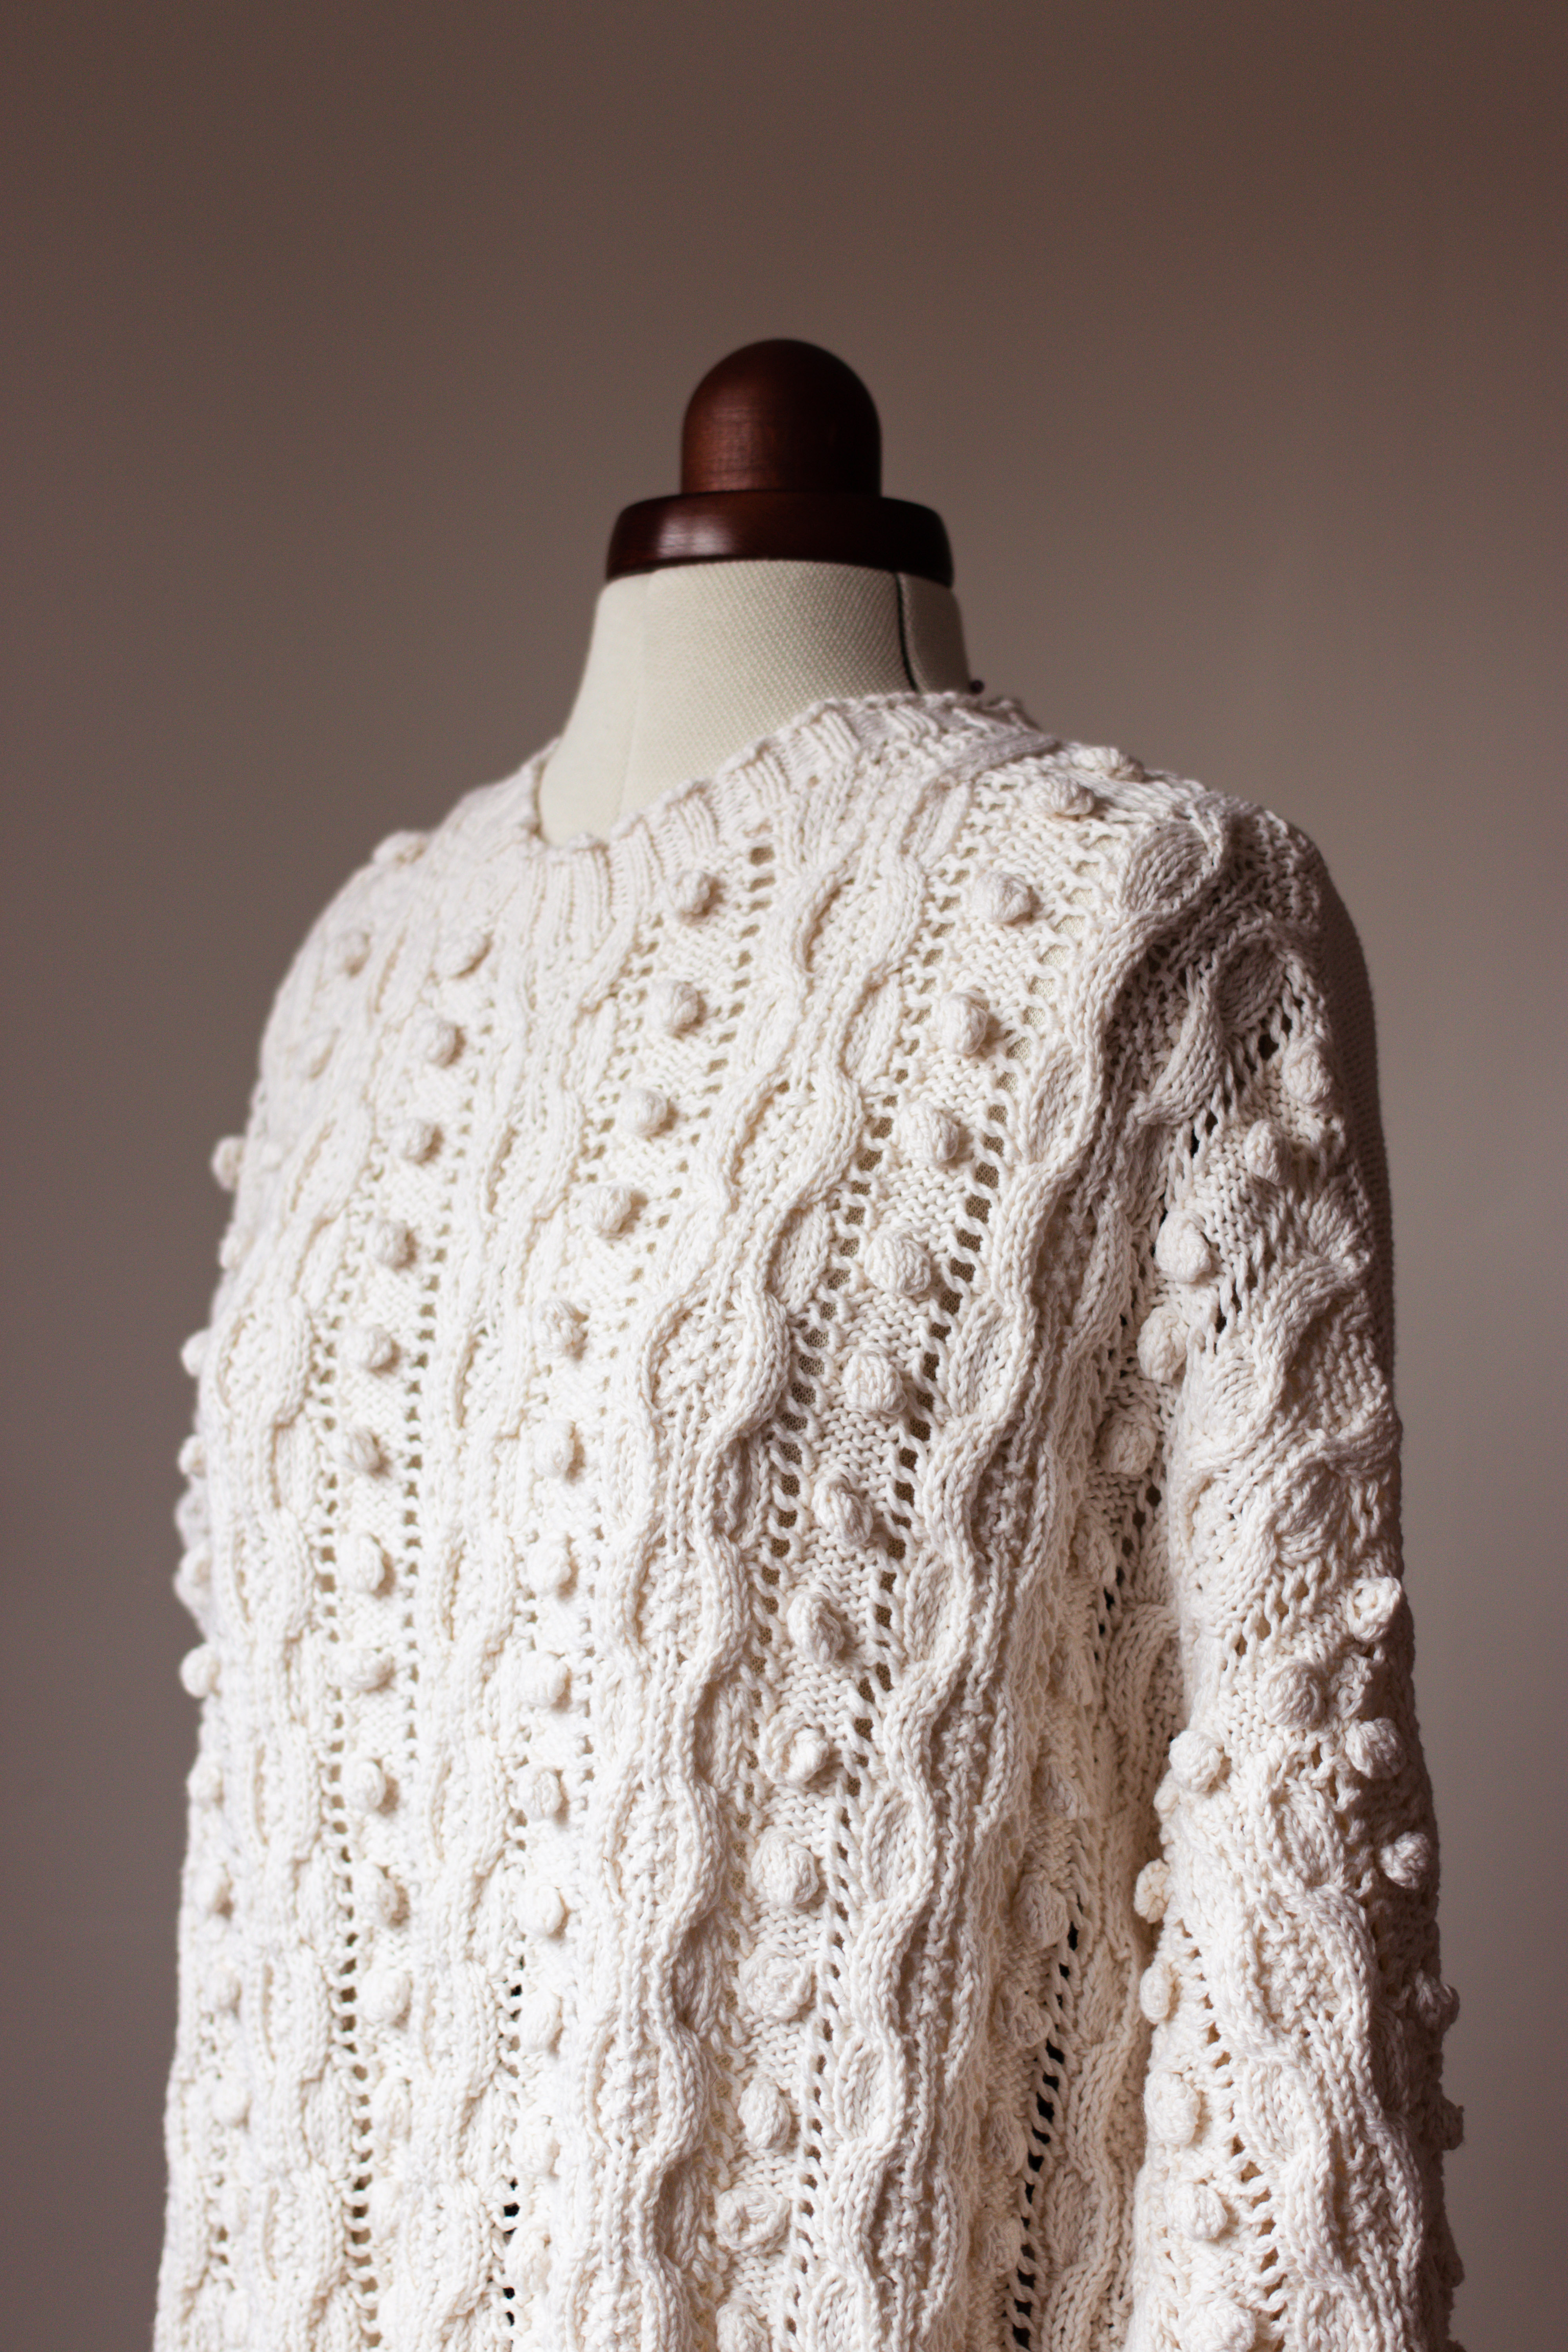
Vary the depth of your photos. I like my knitting Instagram feed best when there’s a mix of closeups, garment shots, full outfits, yarn pics, and mannequin photos. That’s my personal favourite combination, but my point here is that it’s good to mix it up! Show a whole cardigan in one photo, and a tighter crop of the neckline in another. The fact that you’re photographing the same item brings continuity anyway.
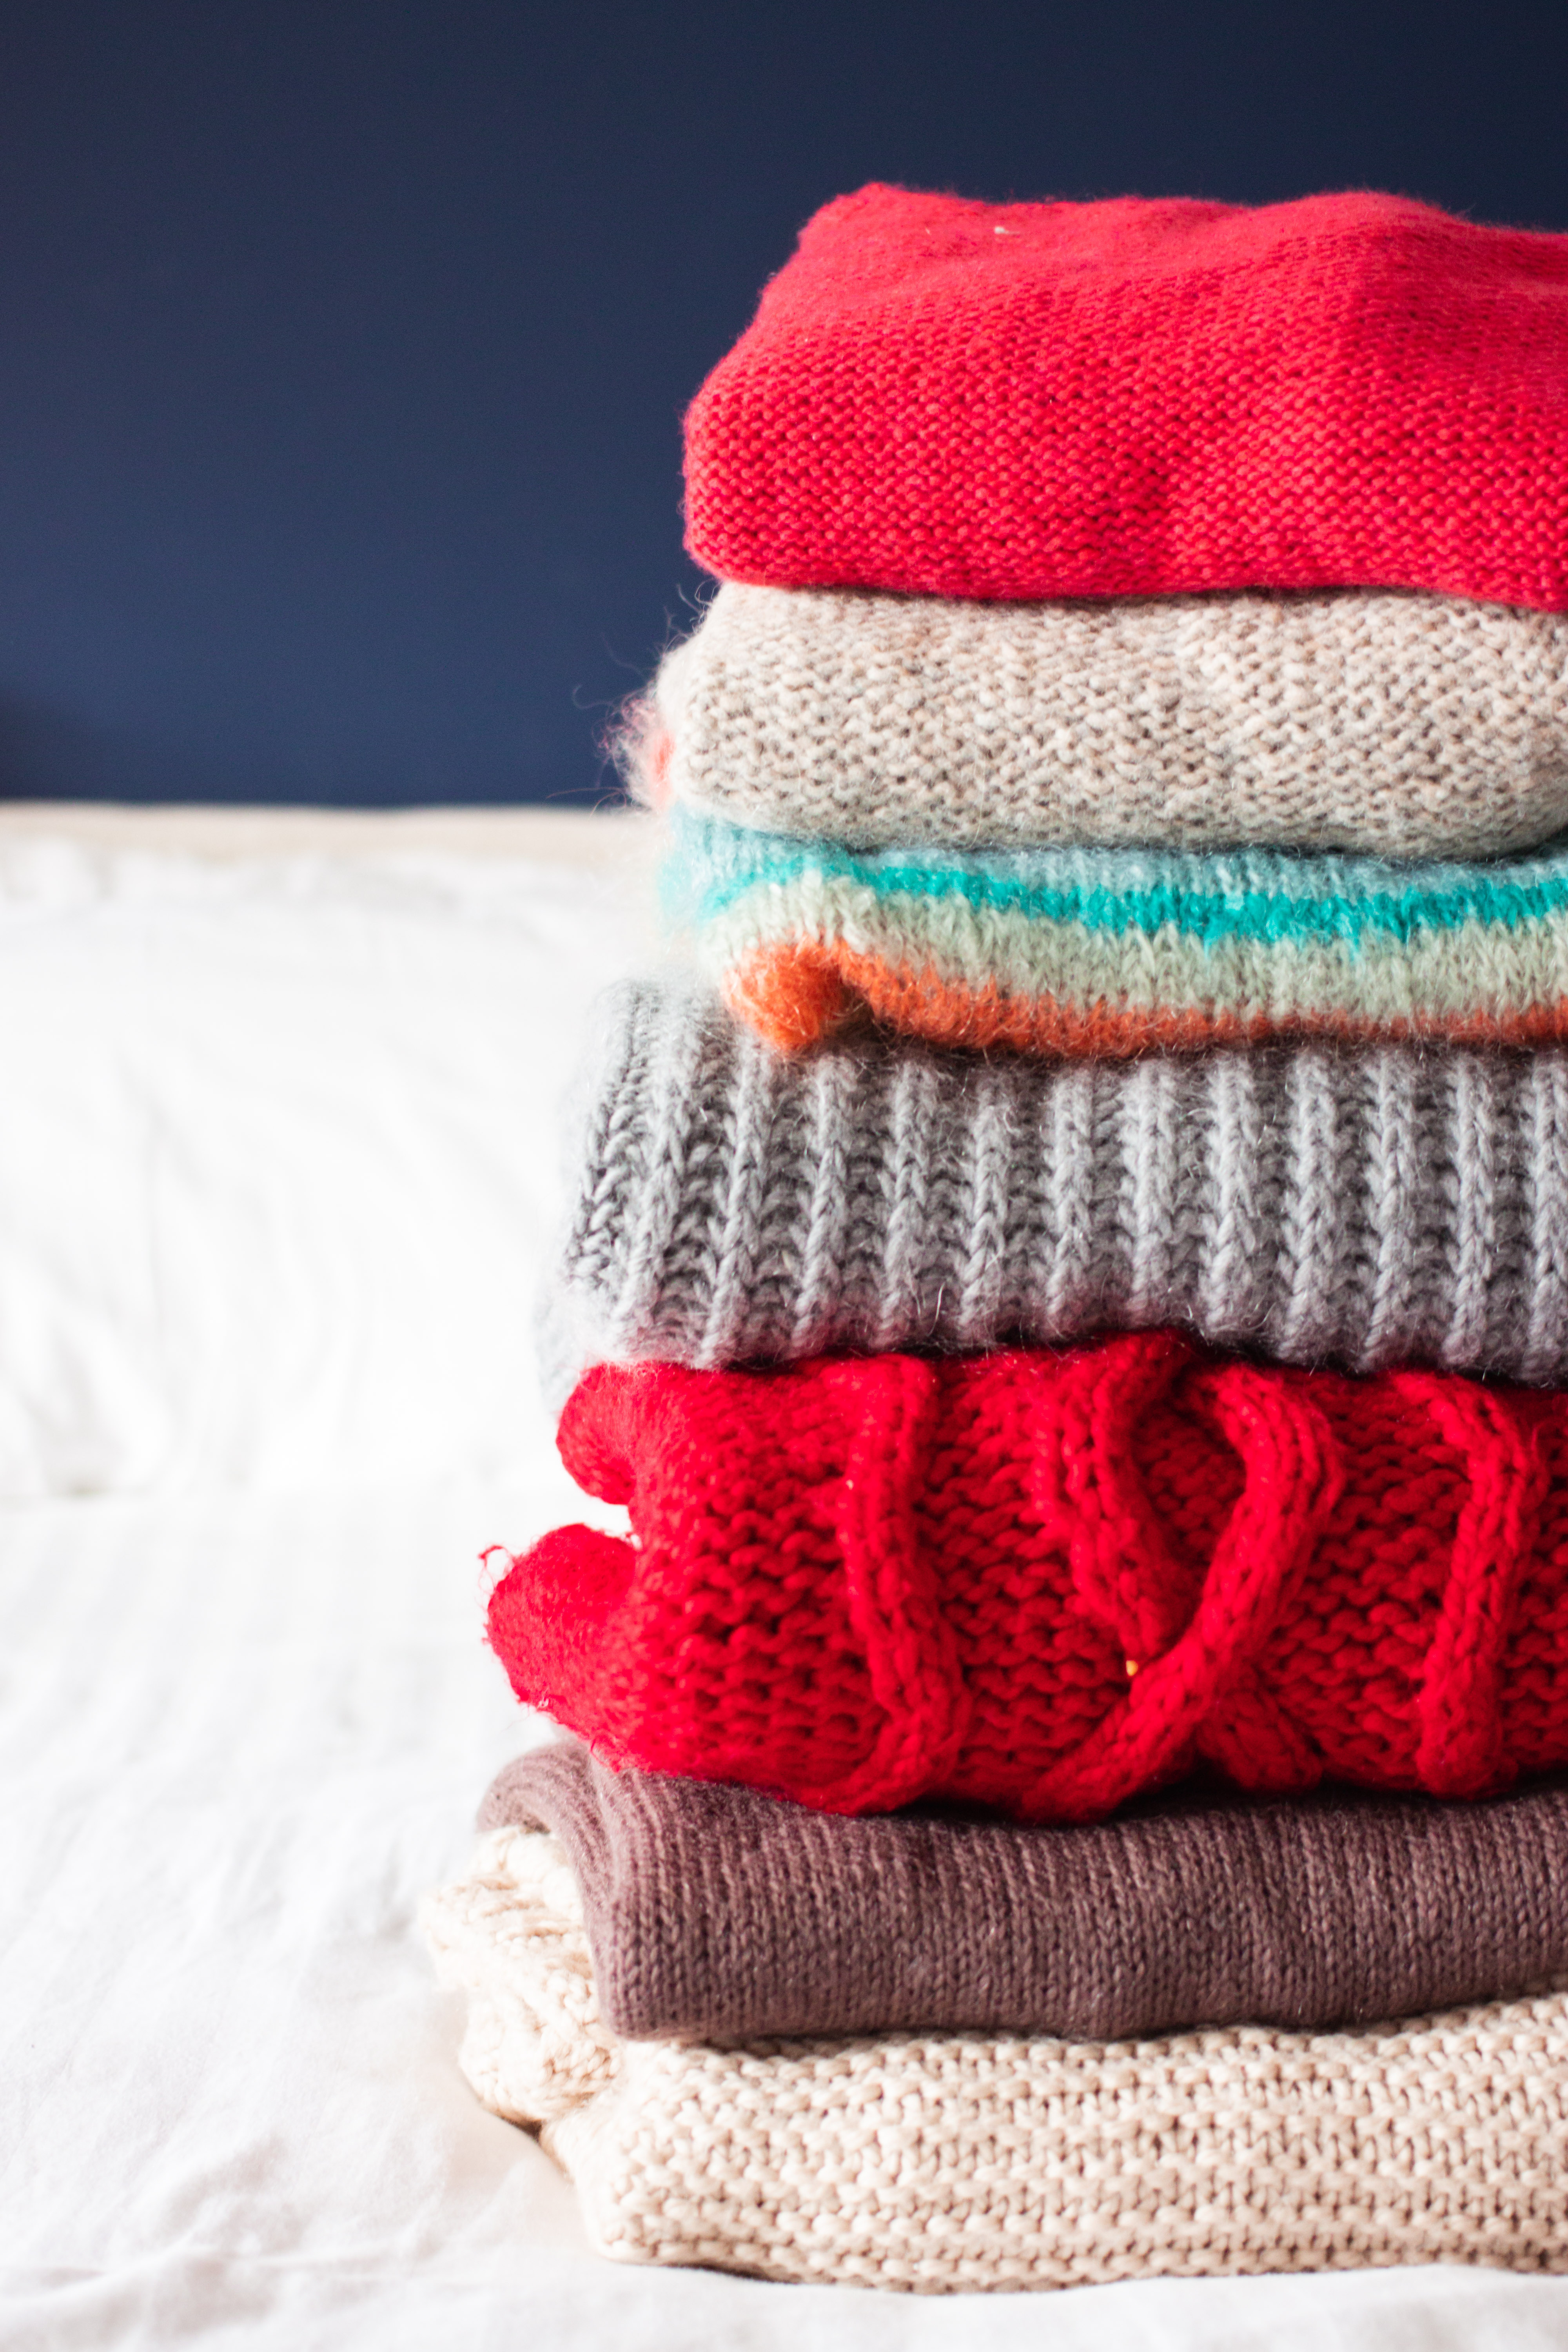
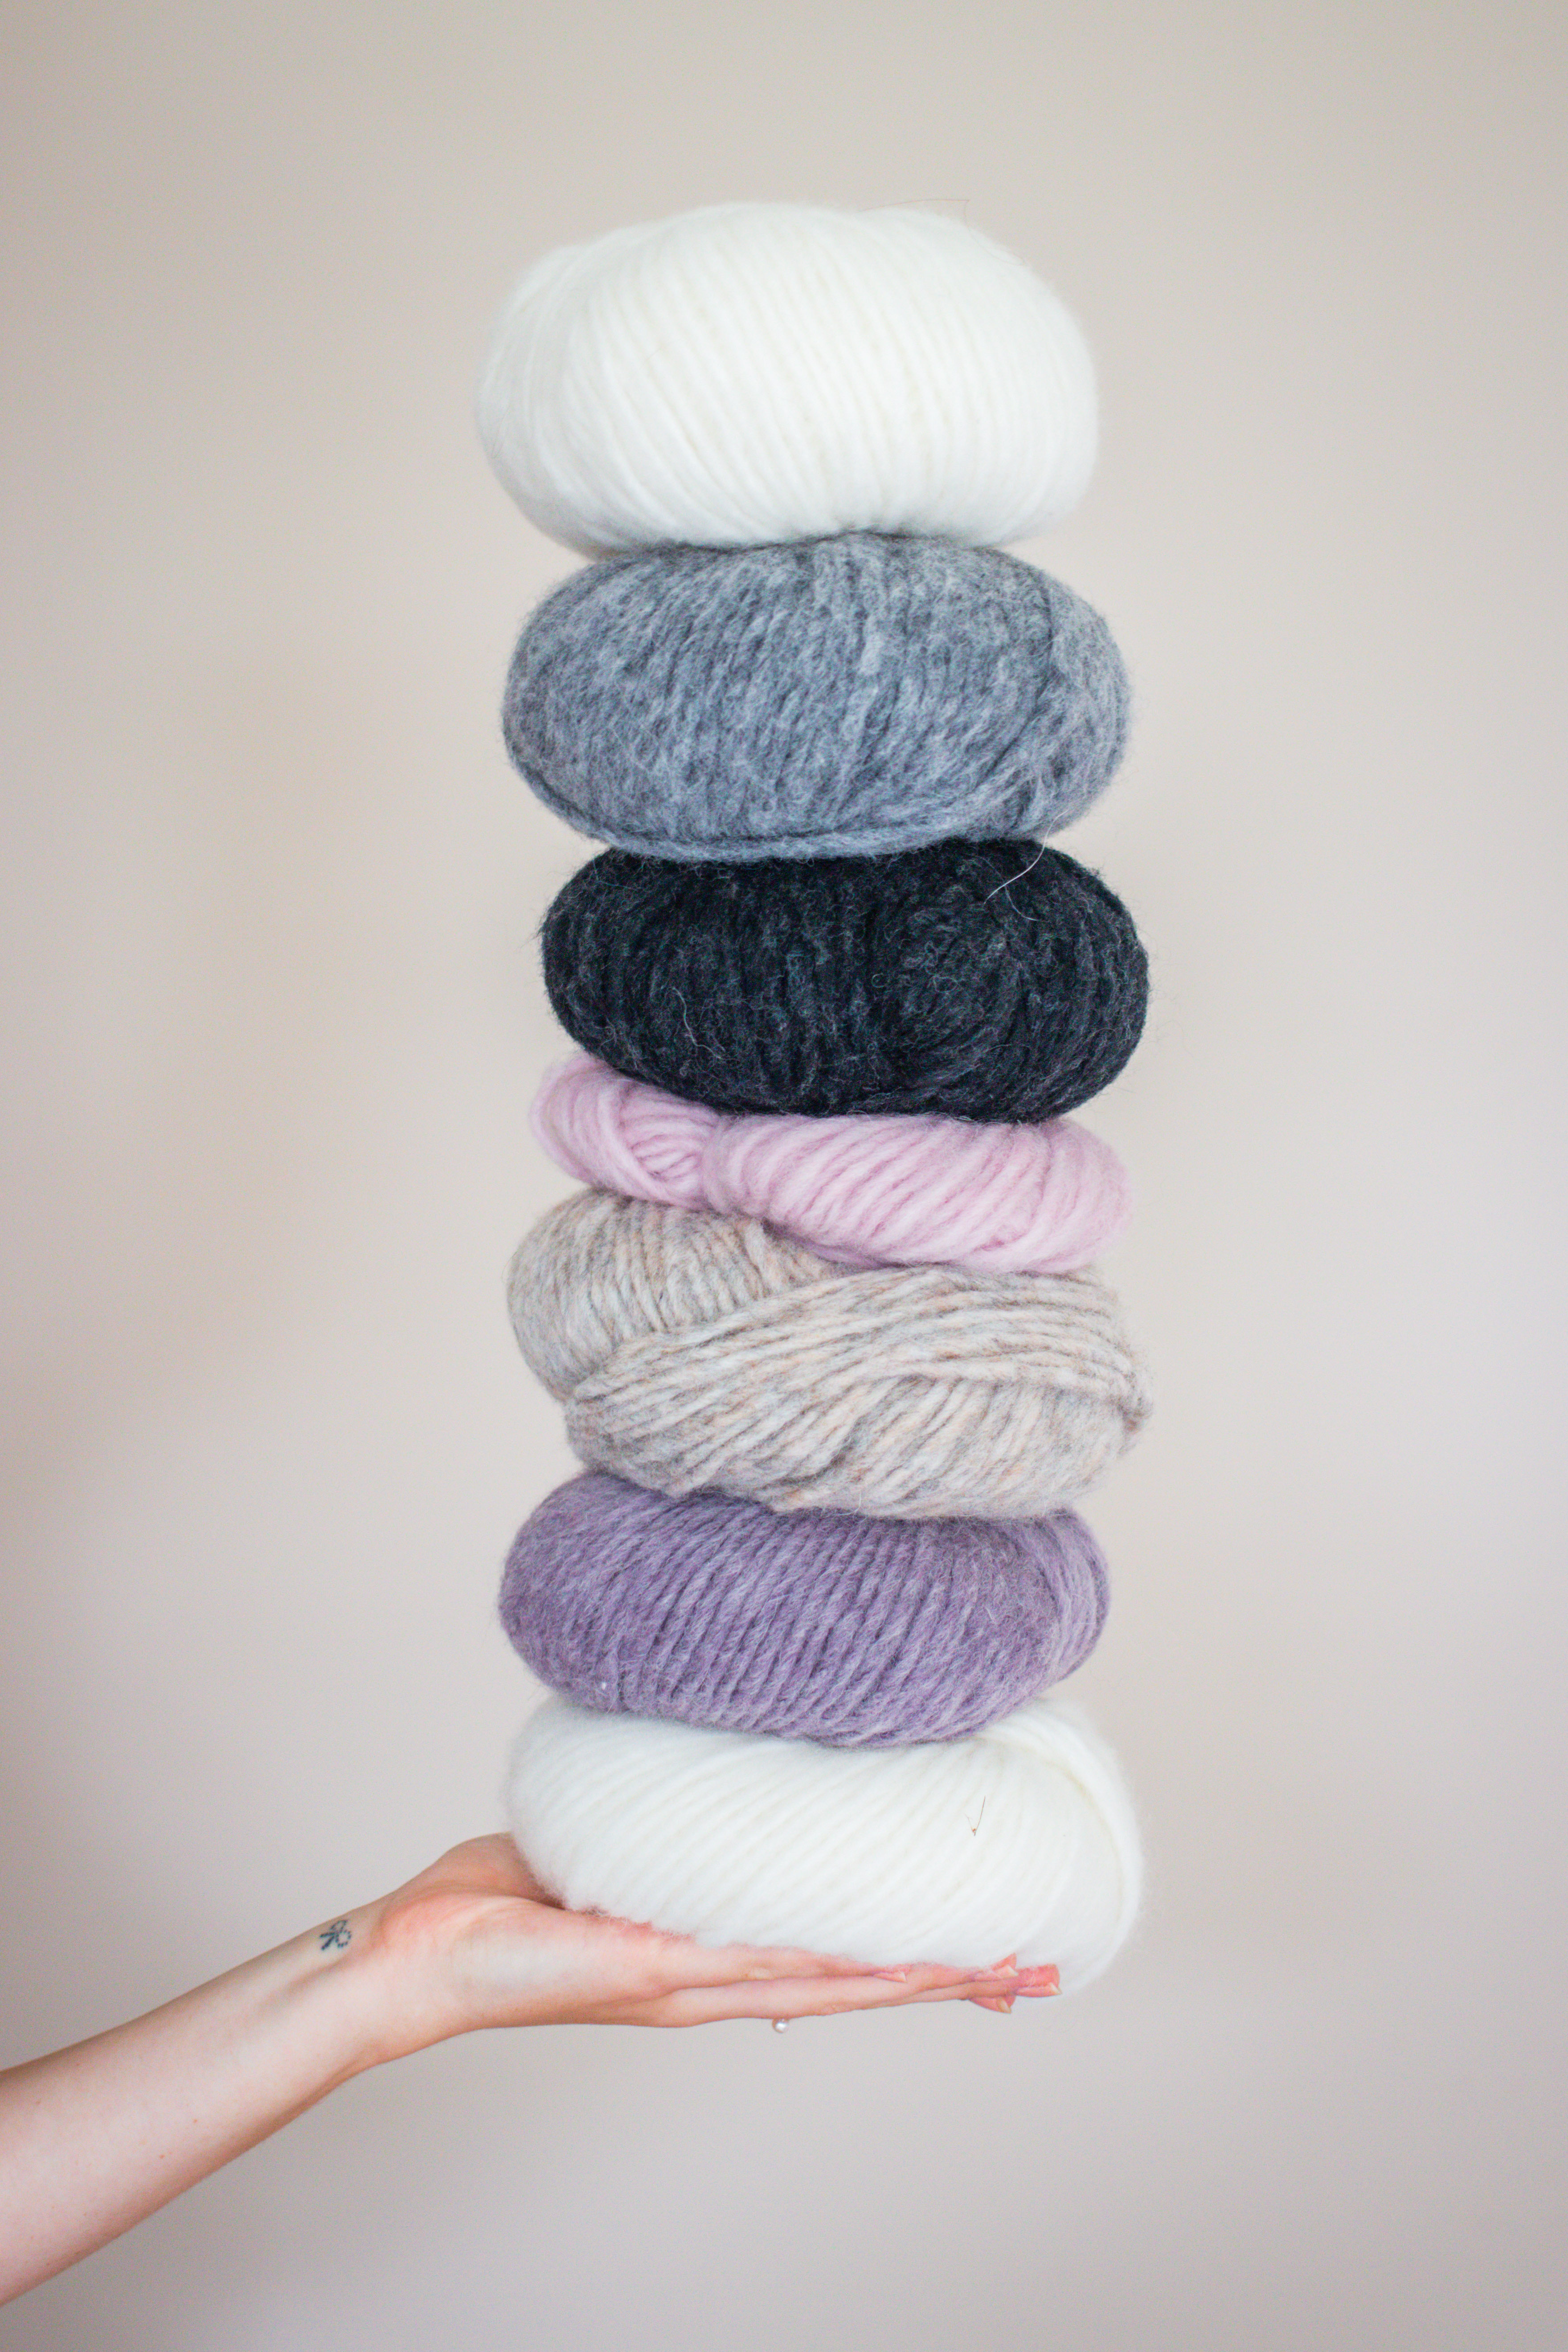
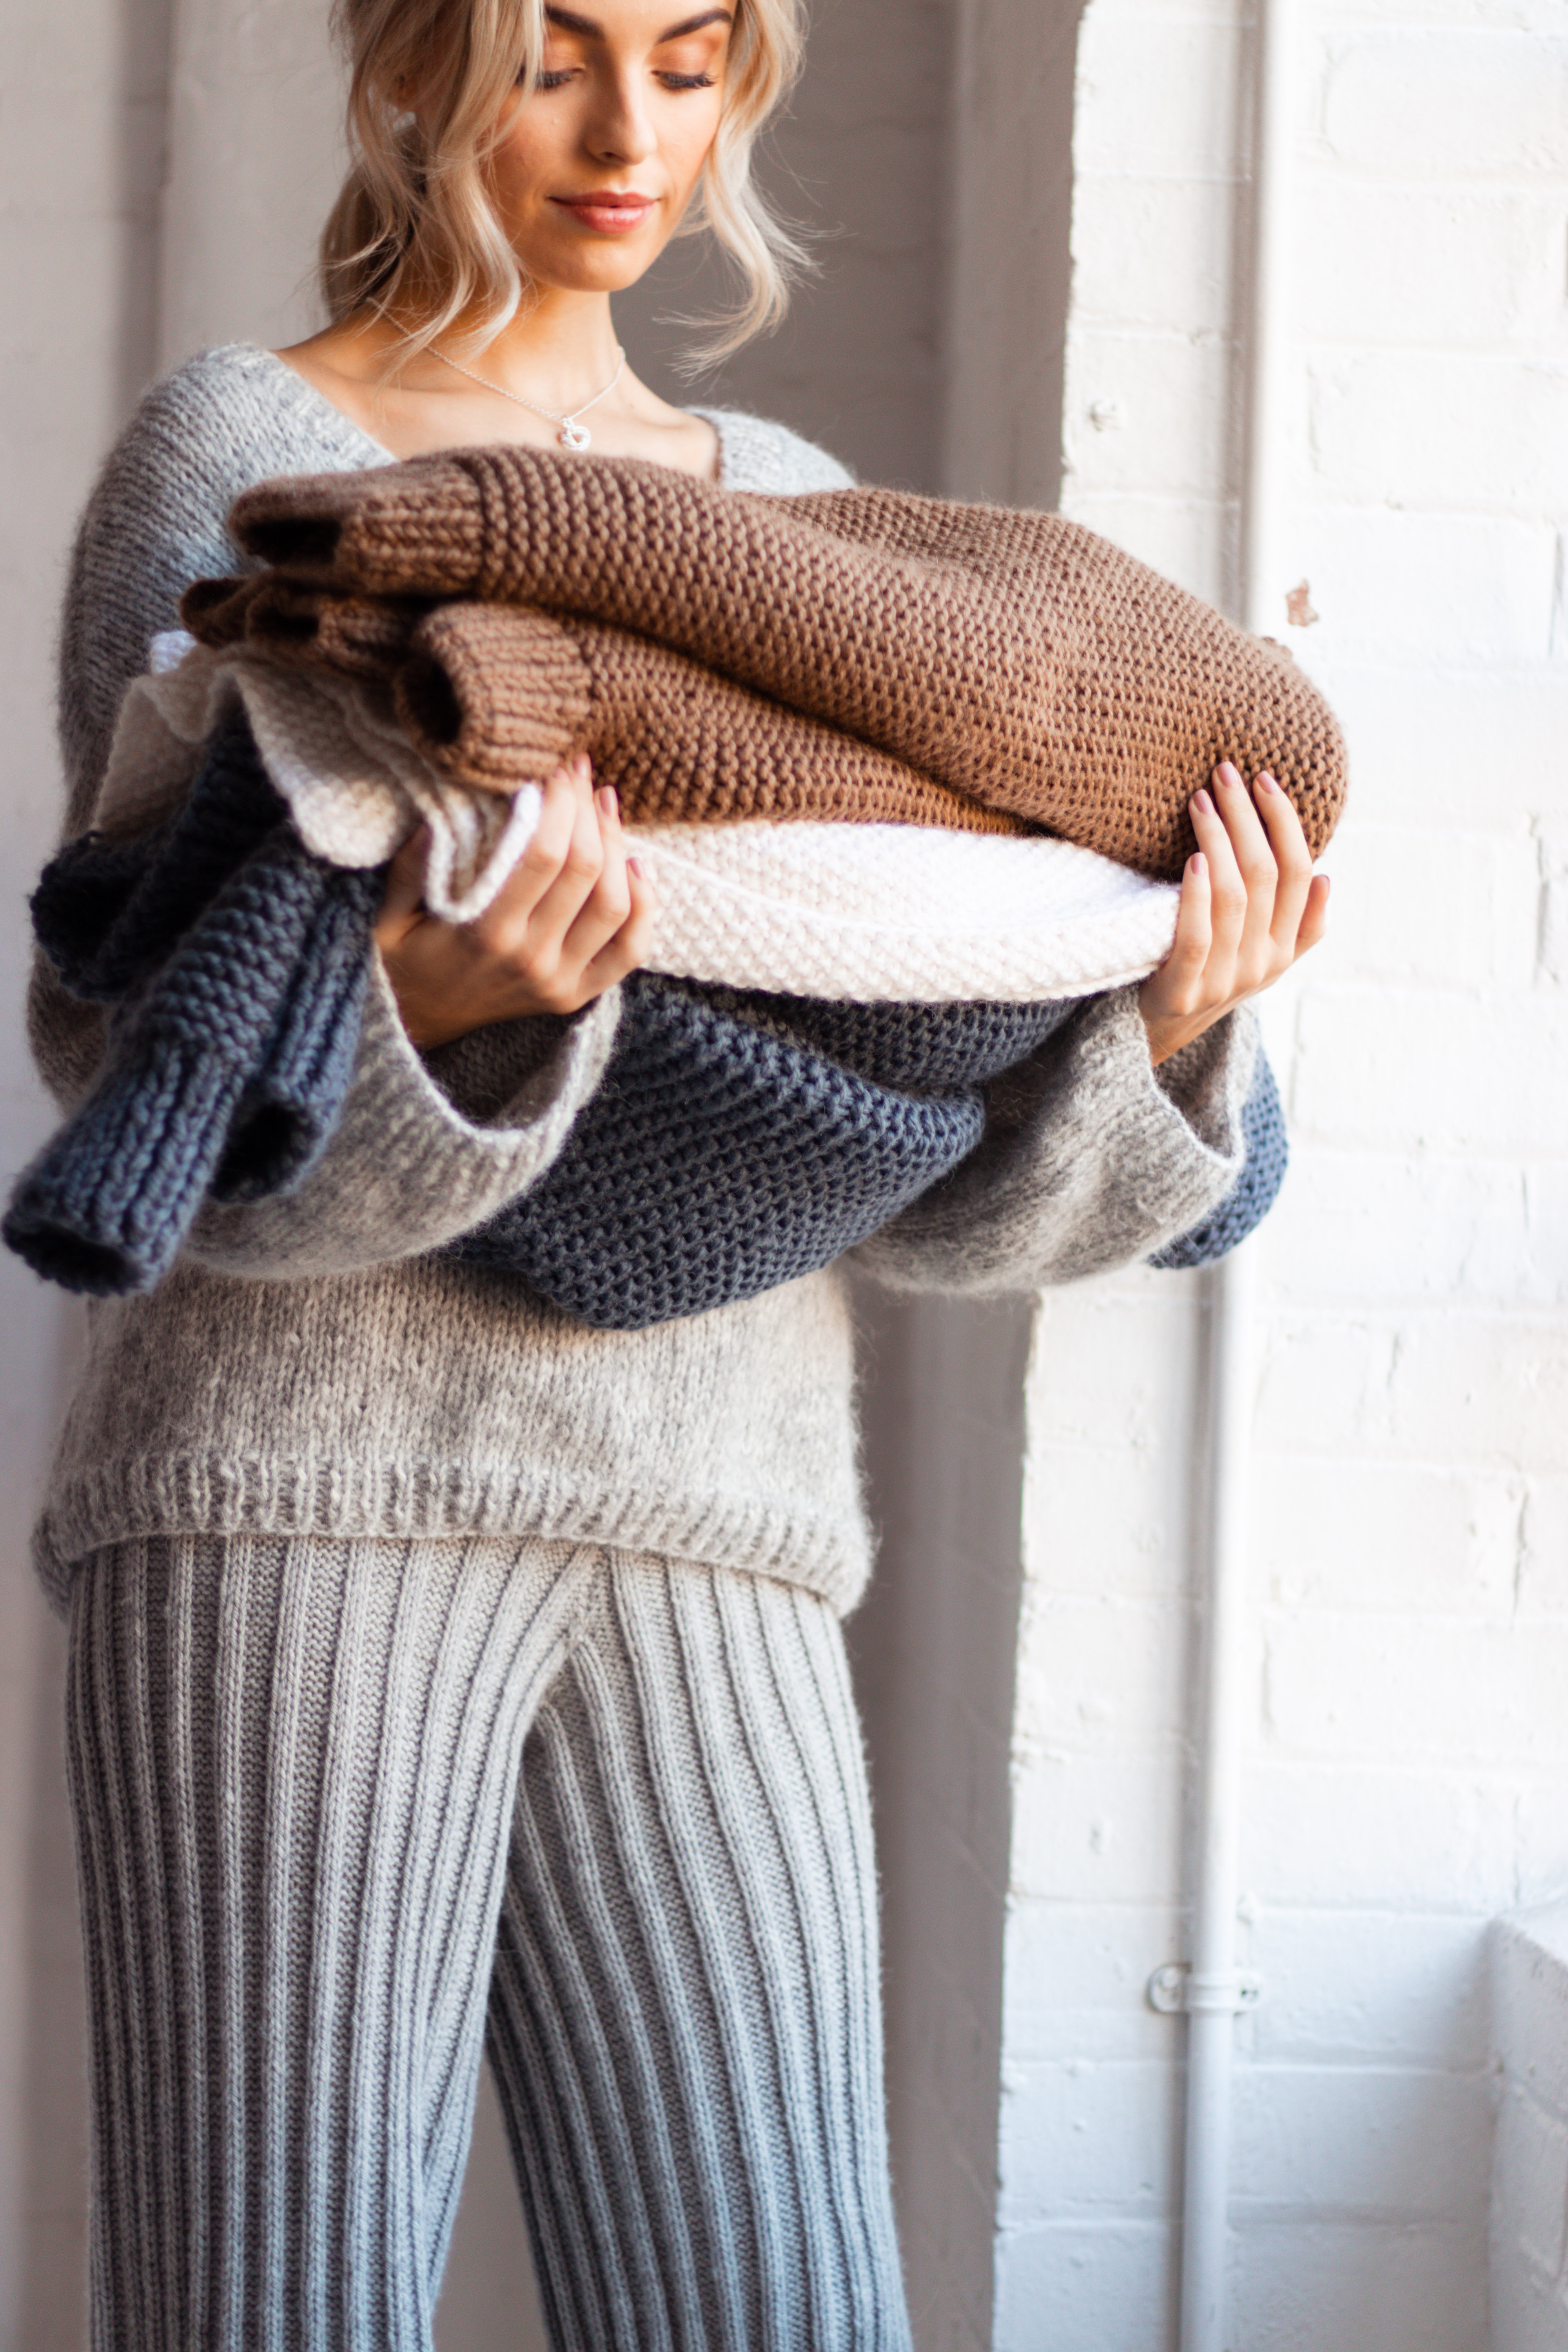
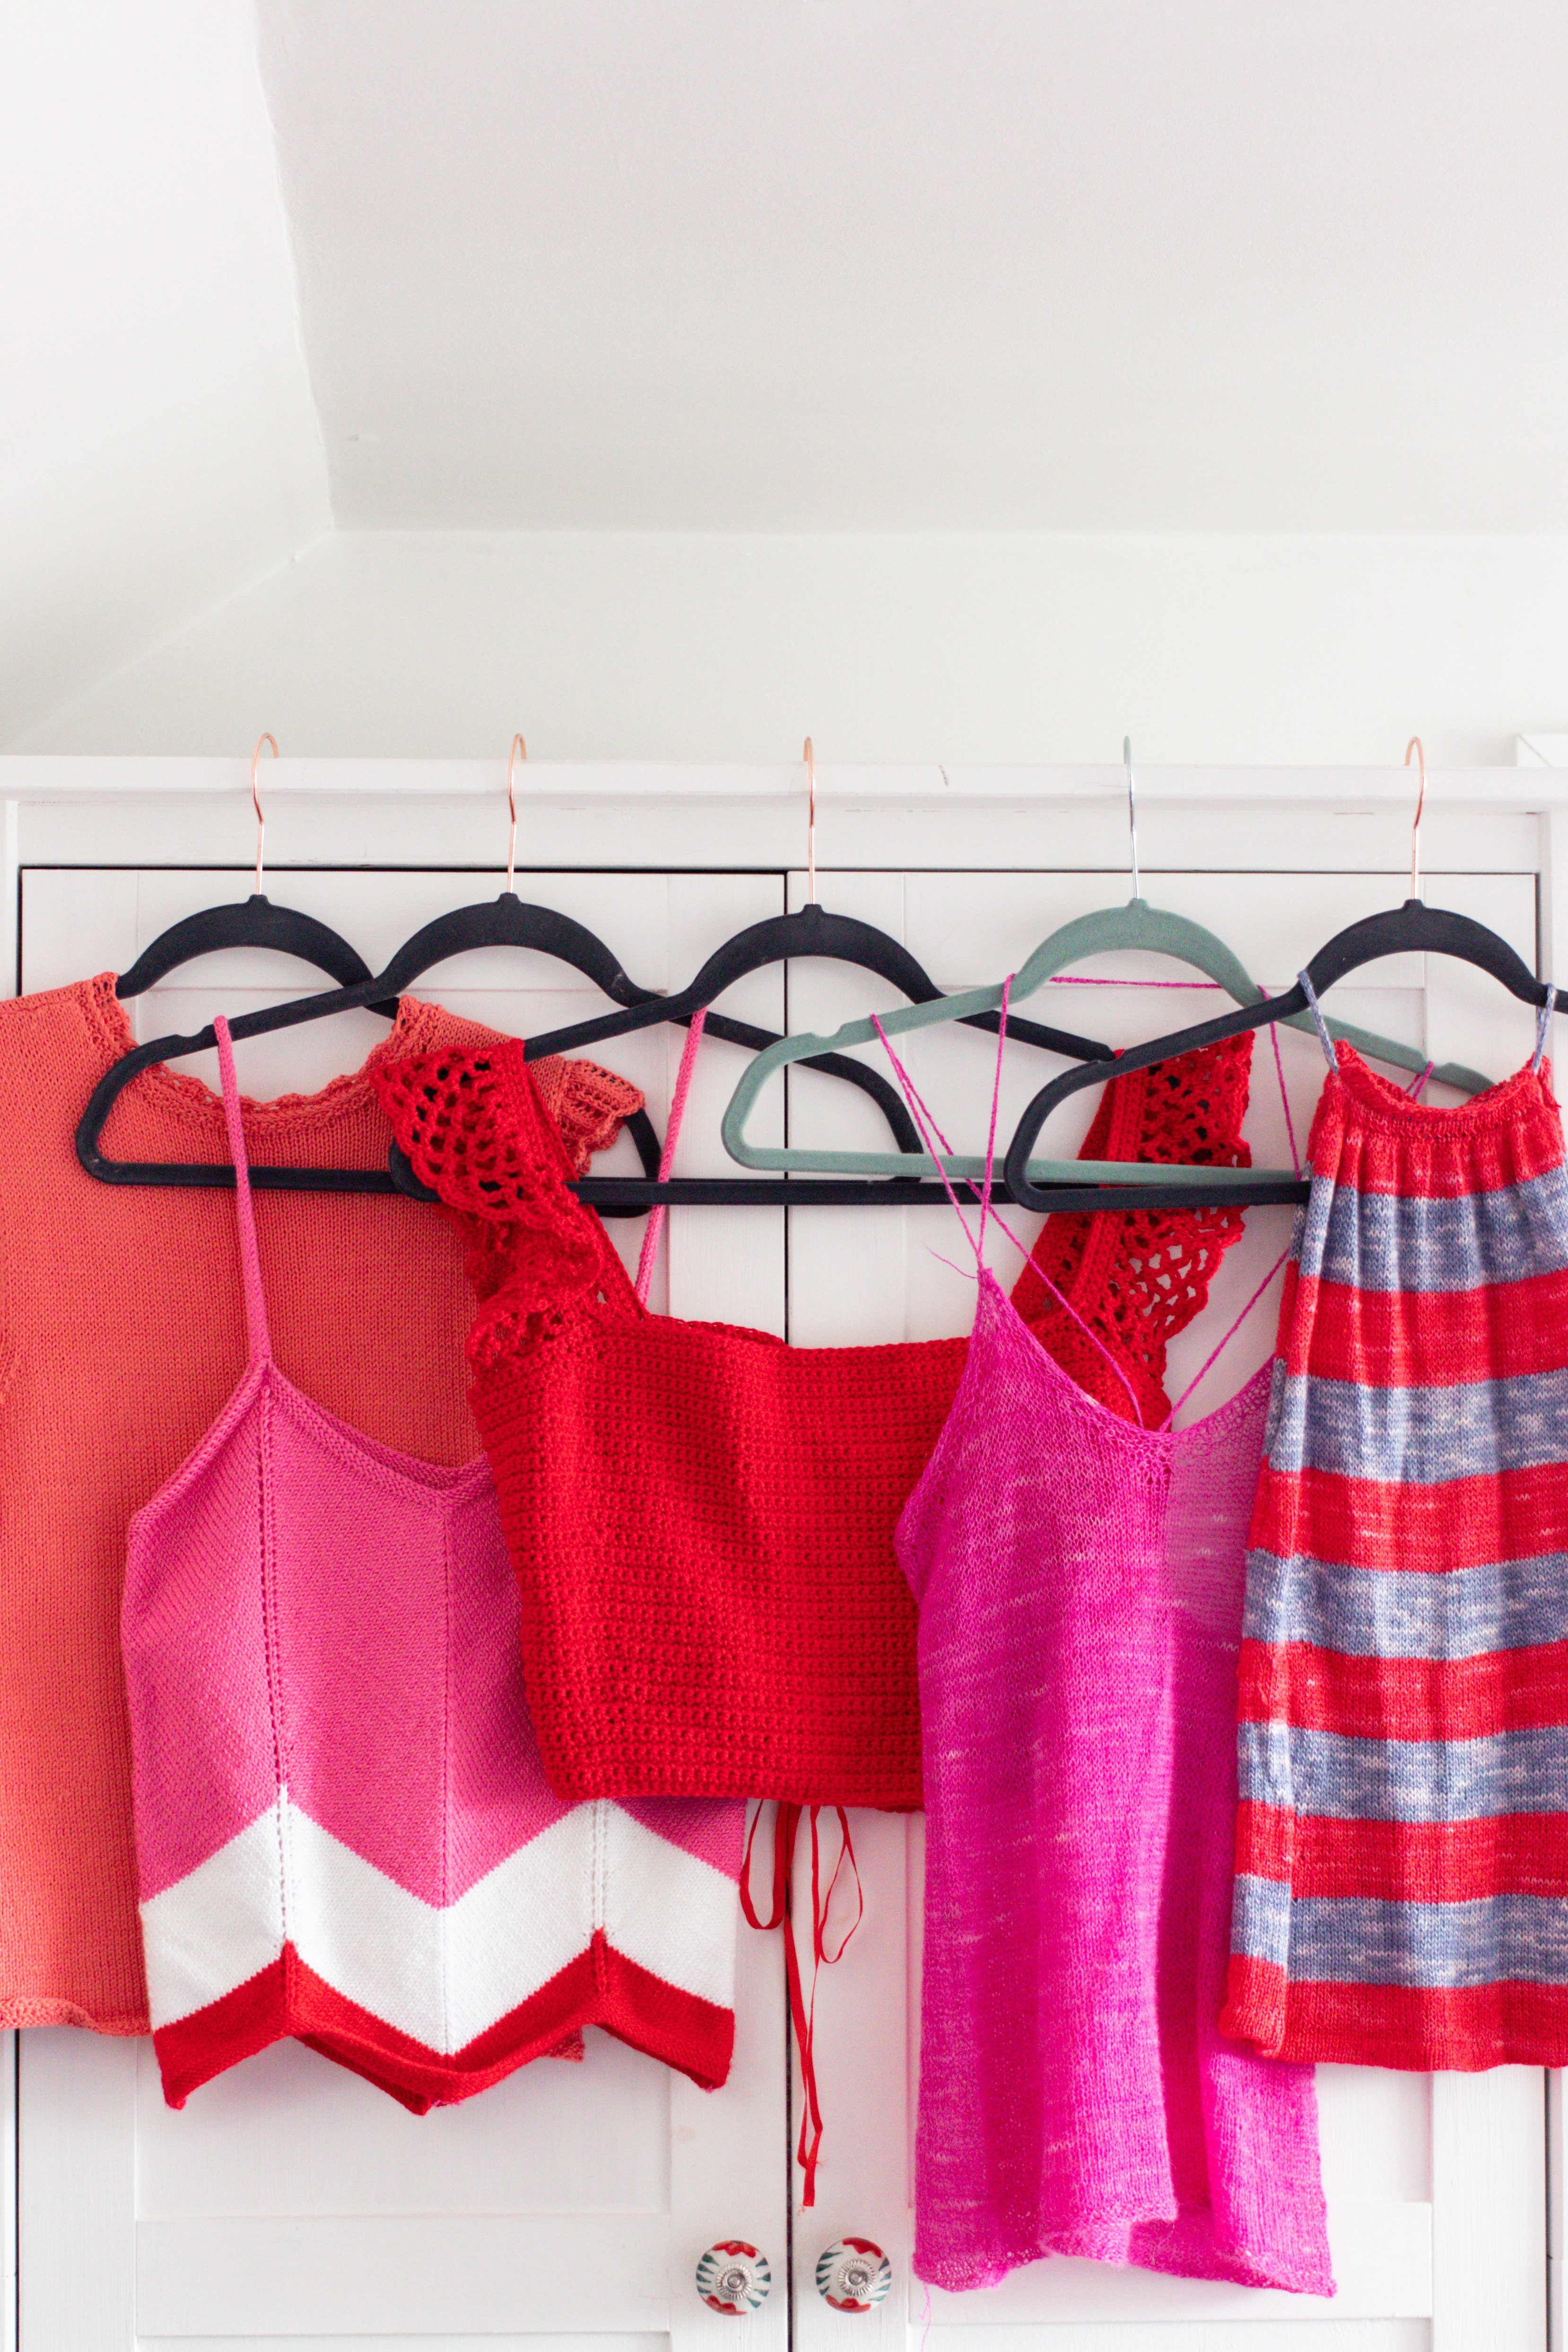
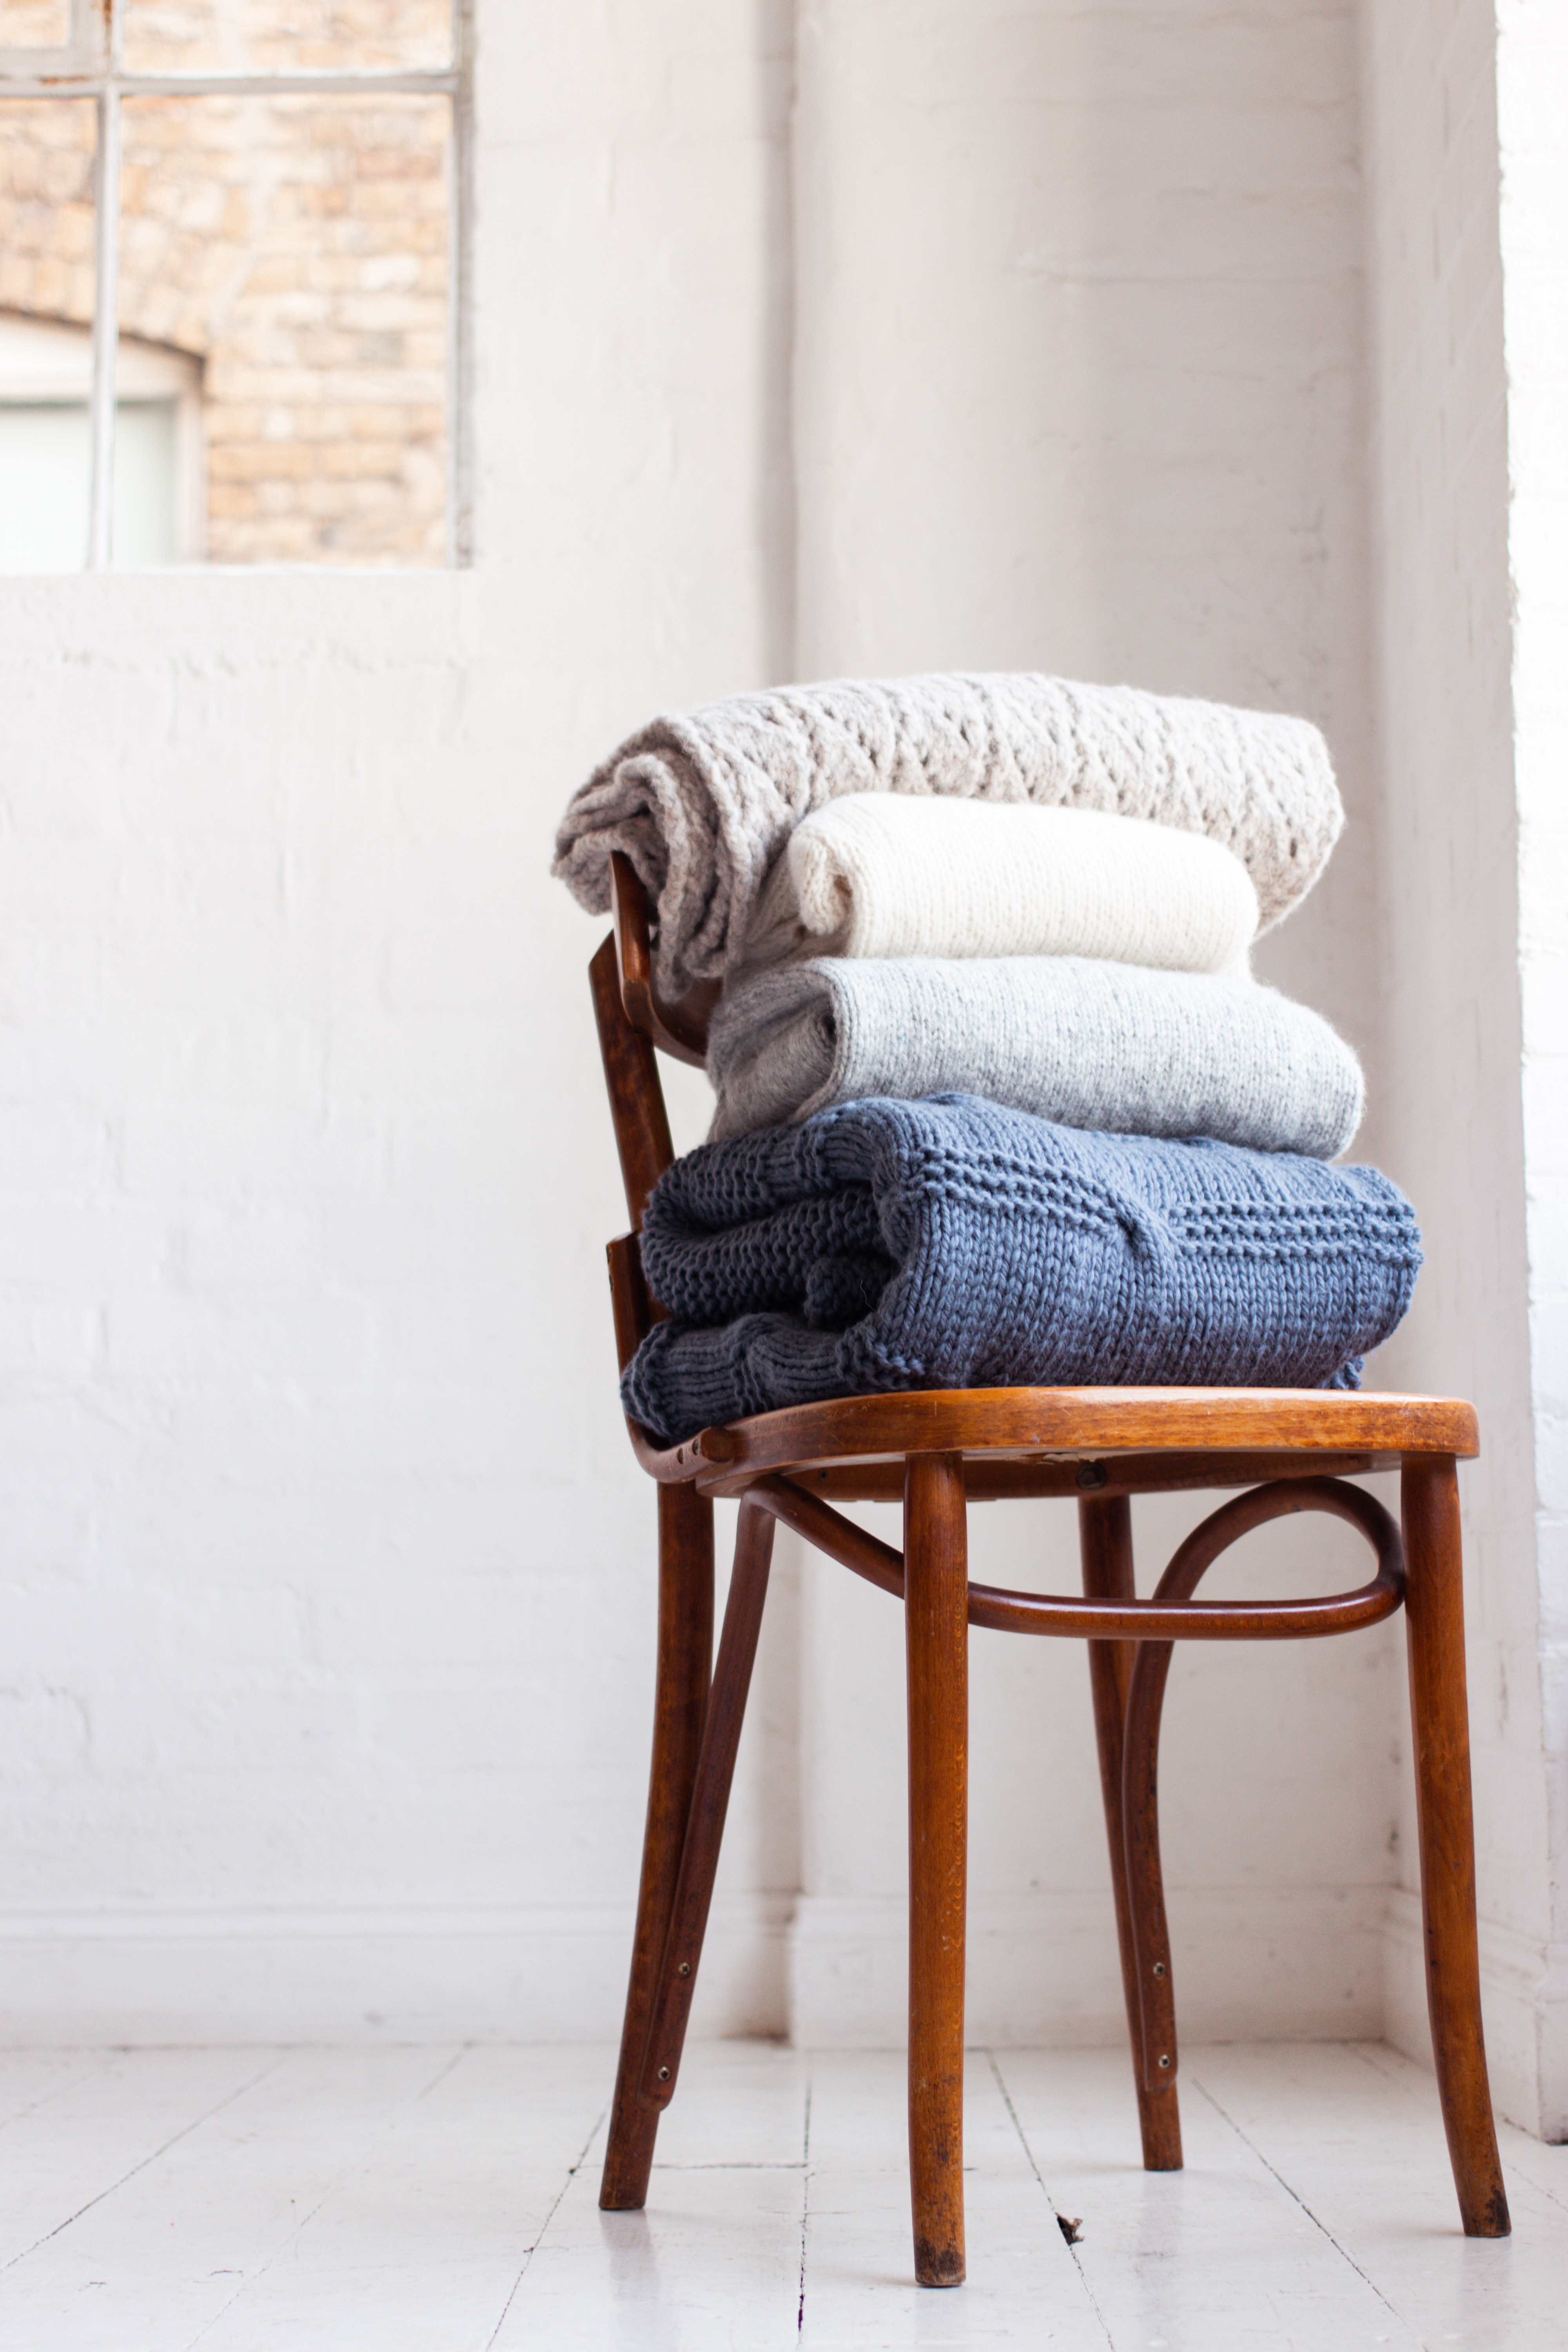
Stack ’em up! Piles of knitwear, stacks of yarn. Pull out a few items from your collection and heap them all together. Looks great.
Play around and find your style. Possibly the most important point! Your signature style will evolve naturally the more you play around and experiment. I know there are some types of photos that don’t do ‘well’ in terms of Instagram likes or comments, but I like them anyway so continue to post. Some may be a surprising roaring success, some may be a total flop. Just roll with it and keep experimenting.
Let me know if you find these tips useful!
Lily Kate x
Follow me on Instagram |Twitter | Bloglovin | Email me
No Comments